


The 4 pictures below are linked to 5 Megapixel shots. Click on the image and then wait a second. Then click on the small icon in the lower left of the image itself.

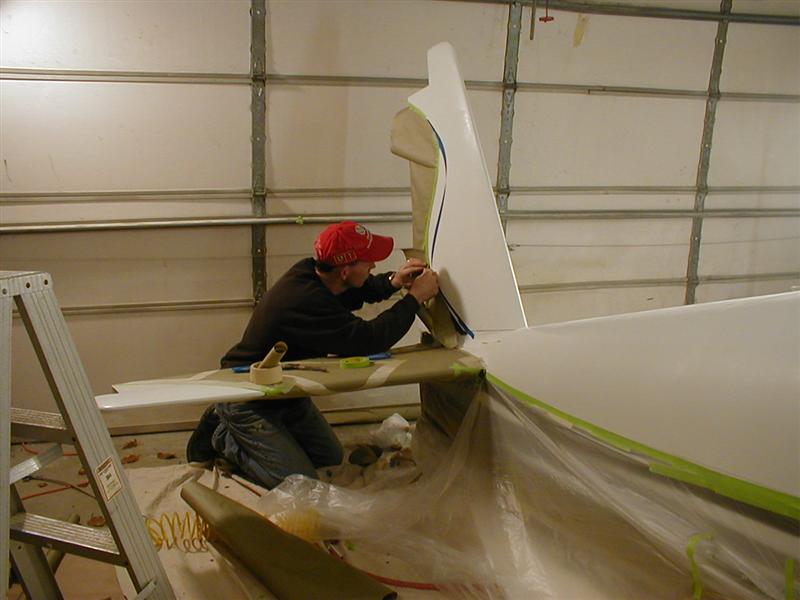
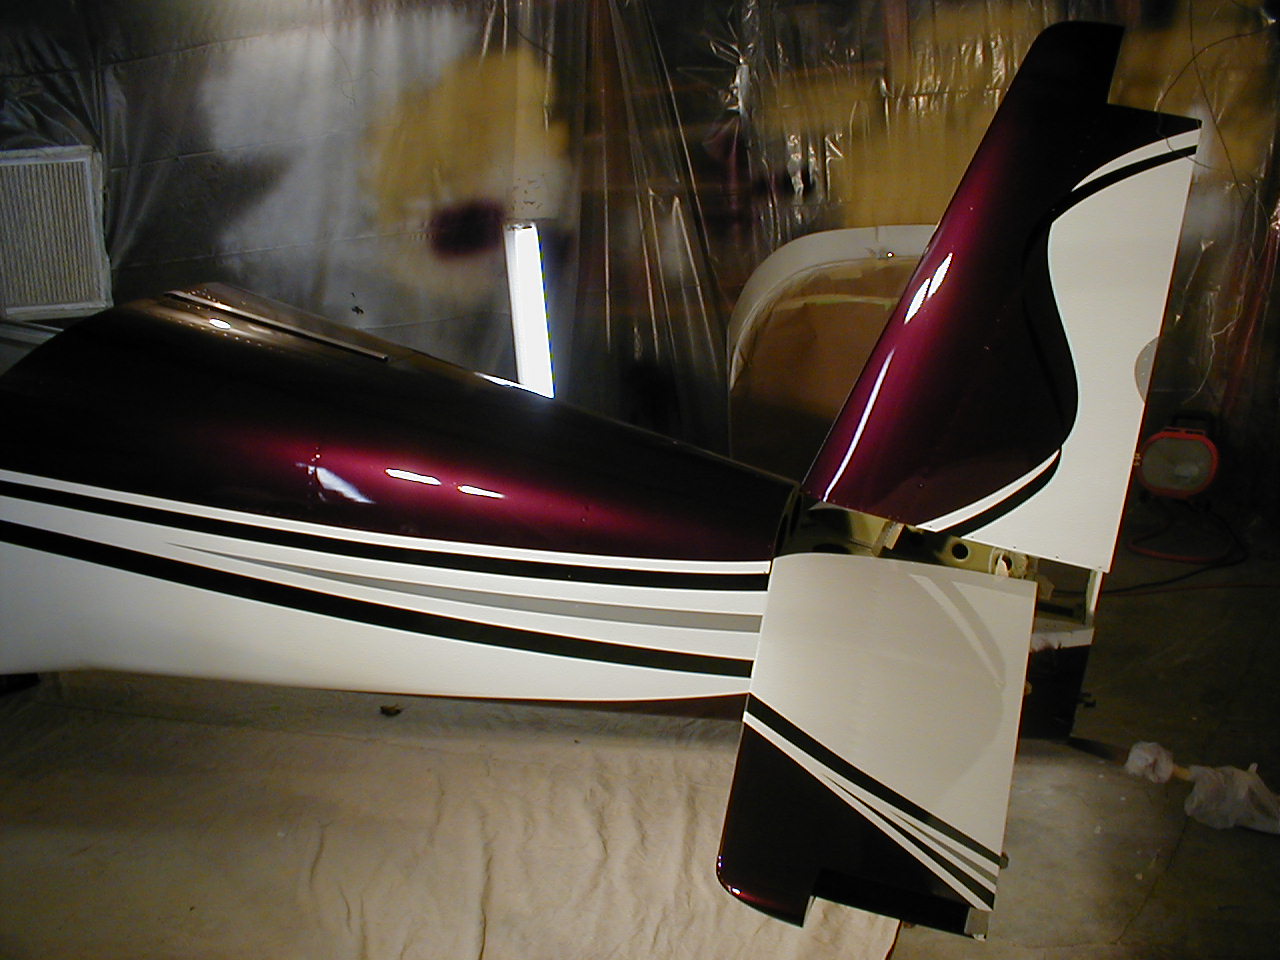
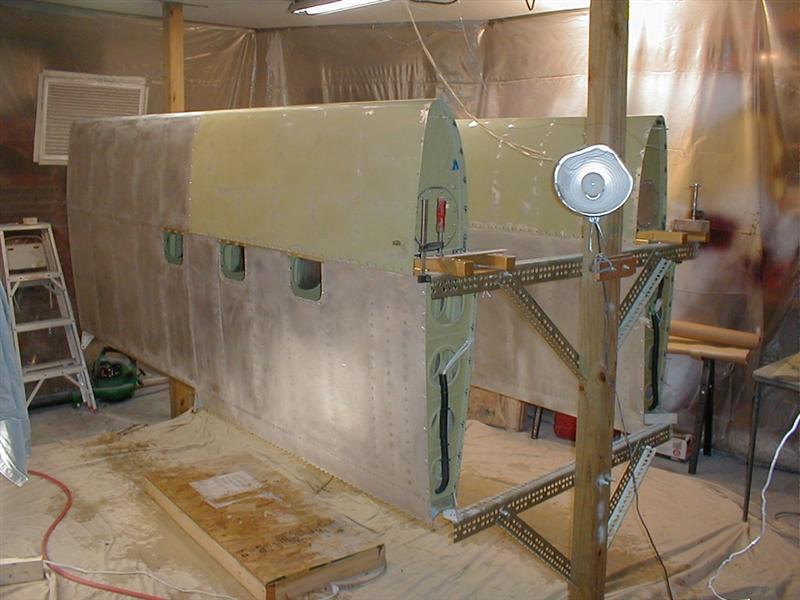
THE BEGINNING
STOP
READ FIRST!
![]()
You've probably spent the last 6 months only a week away from being finished. I think we've all been there. Congratulations on getting here! At this point you have two choices (Depending on how many bucks you have left over). You can figure out a way to do it all your self, or you can pay someone to do it for you. IF IN DOUBT...GET THE CASH OUT!
I always liked the thought of doing the paint. As I worked through the project I managed to gather the details on exactly what I wasn't sure about. Yes, I've painted before but nothing like this had crossed my path in the past. Priming parts does not qualify for knowing how to paint. If you haven't done this type of painting in the past, you still can. If this is the case, planning is the key to success. Know the answers to all those little questions in your mind before you begin. You need to have confidence in your abilities ....like you did when you decided to build a plane. Reset your mind into the painting portion of the project. Begin with the same enthusiasm and energy. You will need it!
The bottom line is this...IF YOU PLAN ON PAINTING, YOU WILL NOT BE ABLE TO WORK AT THE LEISURELY PACE THAT YOU MAY BE USED TO. IT IS A BRUTAL, GRUELING JOB THAT WILL TAKE EVERY BIT OF YOUR PATIENCE AND PHYSICAL ABILITY. THE LESS COMPLEX, THE BETTER OFF YOU WILL BE. THE AREA SHOULD BE LARGE AND THE LIGHTING EXCESSIVE. TEMPERATURE, VENTILATION AND YOUR SAFETY NEED TO BE CONTROLLED THROUGHOUT THE PROCESS! BUILDING IS ONE THING...PAINTING IS ANOTHER.
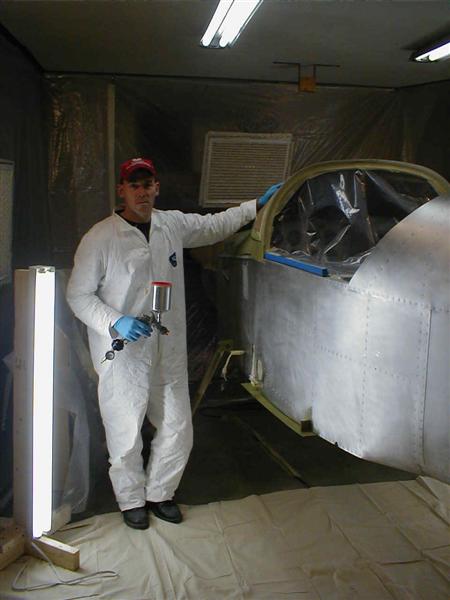
It doesn't matter what you are painting. You must protect yourself adequately. Always wear gloves, a mask, something over your head and a properly fitted organic cartridge respirator. The cumulative exposure of three to four weeks of working with this stuff is enough to hurt you. It doesn't matter what kind of paint you're using! Also, get a paper suit and wear it.
![]()
ON TO THE PAINT
Depending on logistics you may decide to paint before you fly. This is an easy choice. If you have a place to paint at the airport you're good to go. If not, you may want to get it done before you take it all to the field for assembly.
There are a thousand reasons that make painting at home difficult. Here are some:
1.) Ventilation: You have to come up with a way to get the over-spray out without polluting your neighborhood.
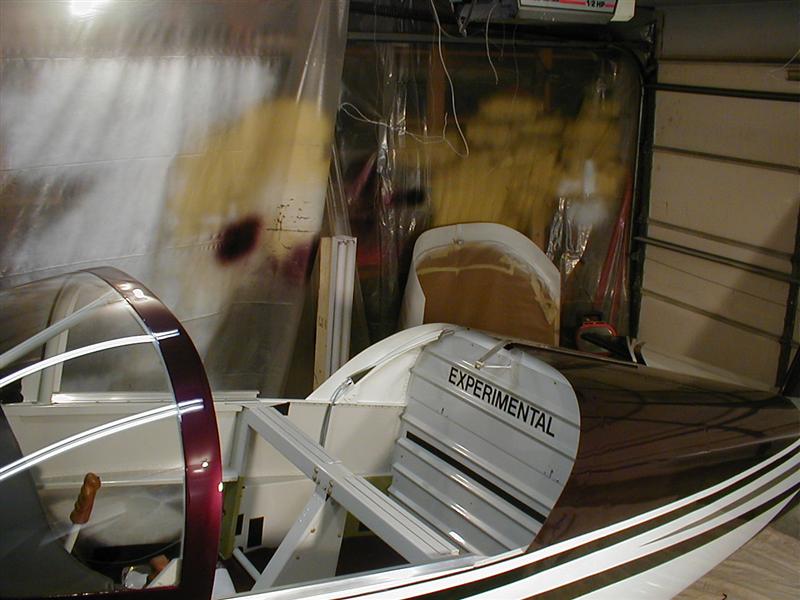
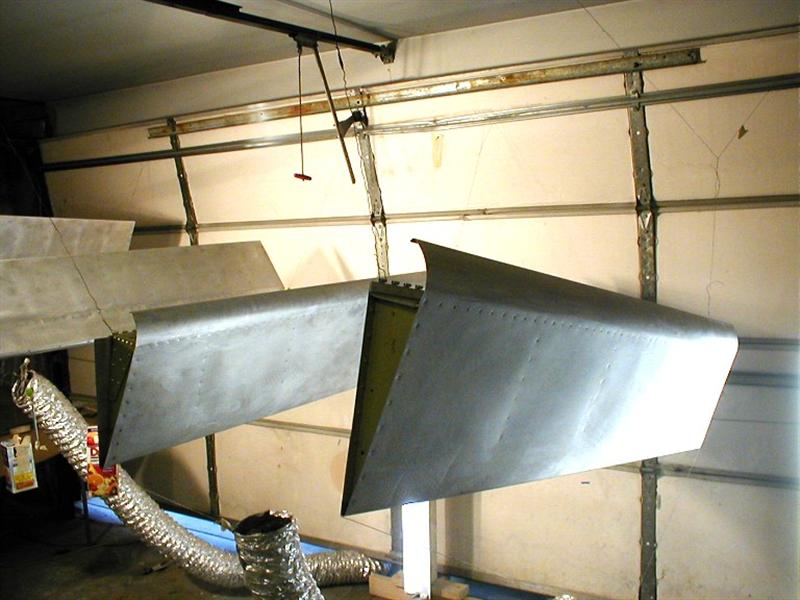
2.) You have to paint the aircraft in pieces - Wings - top and bottom, Canopy, Flight controls, Cowling halves, access panels etc.
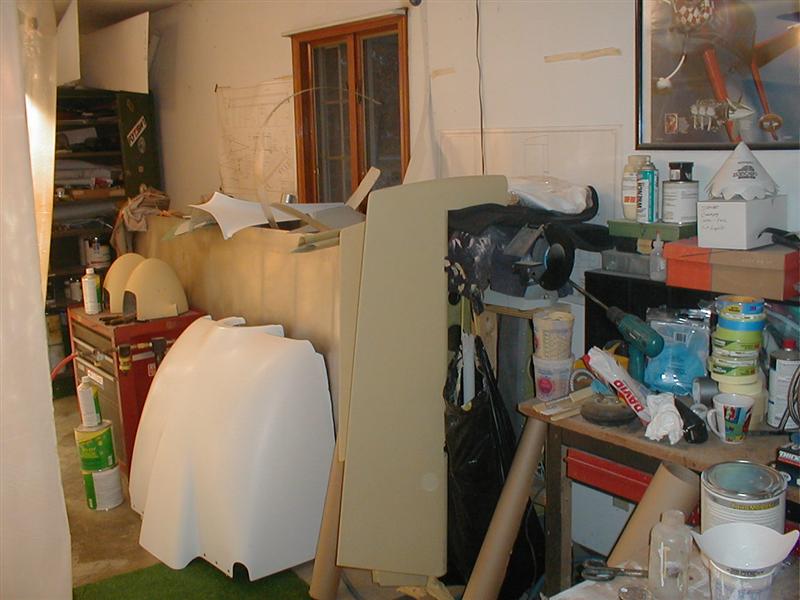
3.) You need room for all the pieces that are in different stages of the paint job. Priming, drying, hanging etc
4.) Transportation, assembly and the constant movement of freshly painted parts poses a risk of scratching.
So, why does it cost so much to have someone do it?
Think about it like this....The cost of the paint on the aircraft here ran about $2500 - $3000. The graphics were about $400. The paint gun ran about $200 . Anyway, I probably spent another $150 on paper, plastic, tape, razors etc. I spent another $3-400 on prepping the garage and building a draft system. So, basically I had about $4000 in materials and running around before I put the first drop of paint on the plane. A paint shop could have cut that by about $2000. They'd get you with the labor later. Whatever the case your paint job will be proportional to the pain and suffering you experience in your wallet...or your knees. That's just the way it is.
Enough of all that..Let's get down to business.
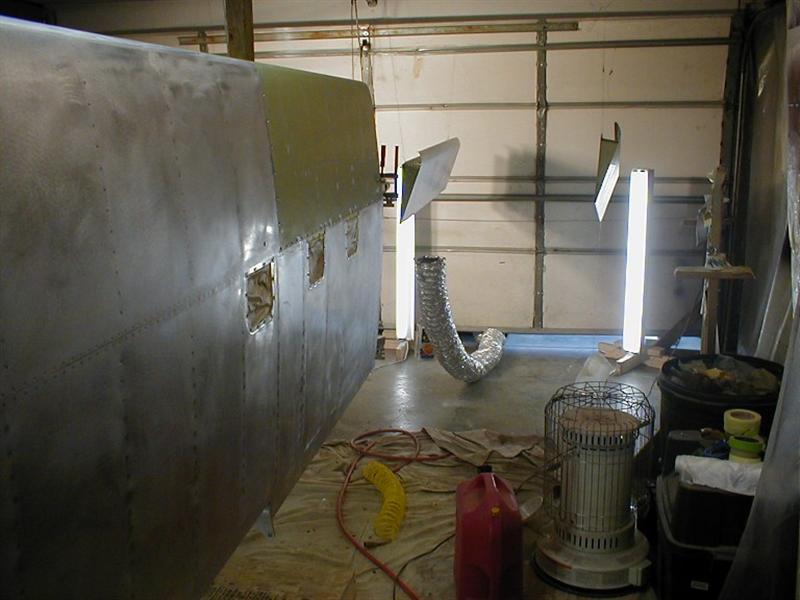
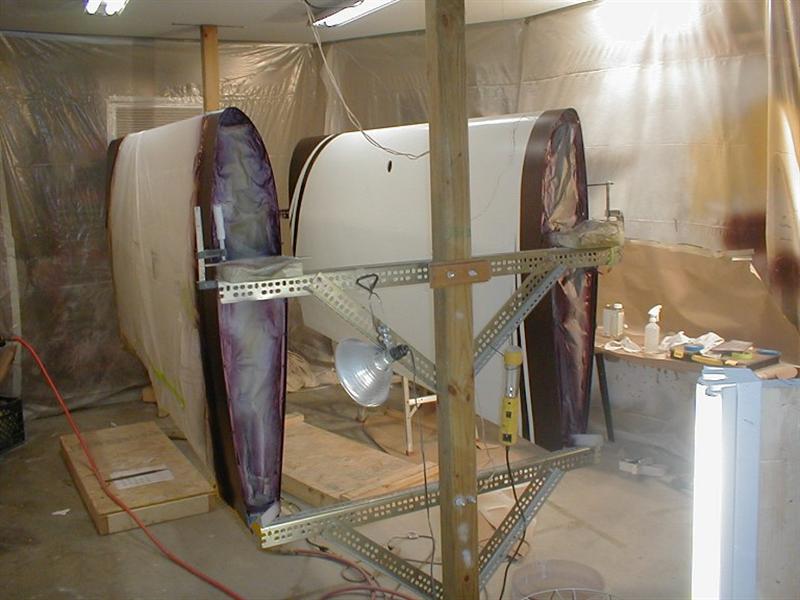
Ventilation
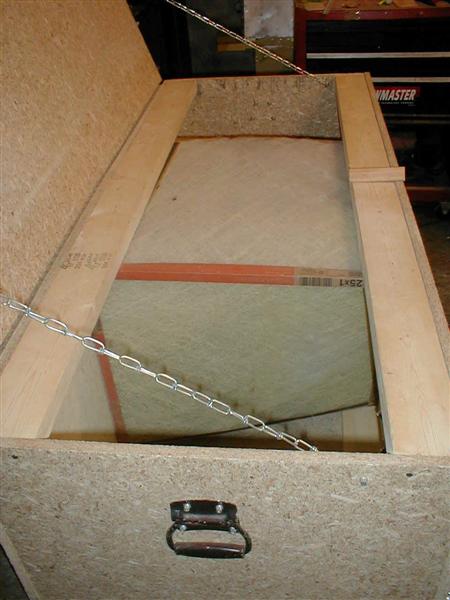
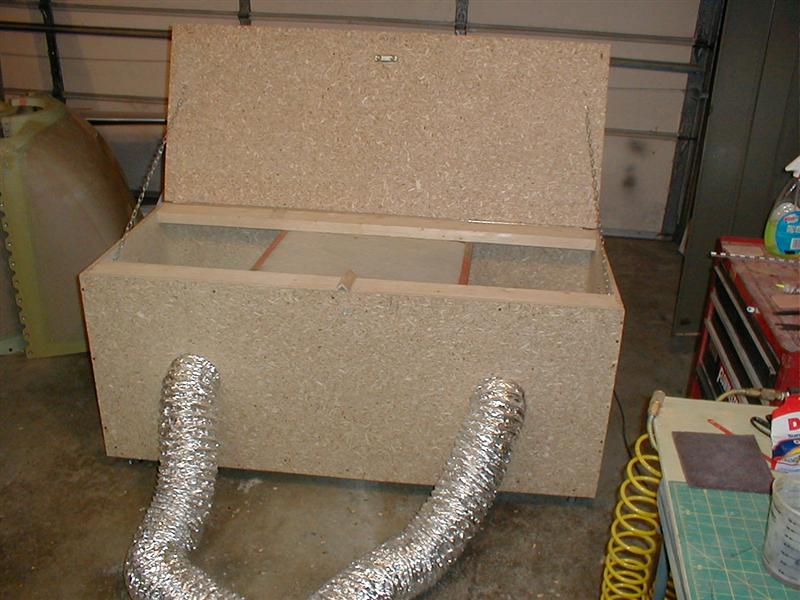
Here's a little contraption I came up that worked great. I had built numerous 'down draft' systems for shops in the past but finding economical ways to do this isn't always easy. The main problem was finding a small enough system to be portable yet have the power to move a very high volume of air. To solve the problem I got with an AC & Heating company and found a 110V "Squirrel Cage" blower from a discarded furnace unit. I built the box with cheap particle board and 2X4's. I added some Van's aluminum hinge, some chains and castors so I could roll it around. I built the box, centering the blower in the middle. The rear exit is only 9X11". I managed just enough room to squeeze a double row of air conditioning filters at the sides and top. Any gaps were filled with removable foam strips. I added the 6" ducts so that the unit could be kept outside while I ran the ducts under the garage door. (It was winter).
For painting I'd simply turn it on and shut the lid. For sanding fiberglass I'd open the lid about an inch and use the lid for a work surface. The dust would make the turn, getting sucked down before ending up in my face. If I painted small parts I'd shut the lid and pull one of the ducts up near the parts being painted. Sometimes I'd just turn the thing on to filter air in the garage. It didn't matter if I was sweeping, sanding, painting or just needed some fresh air. It worked great for everything. I especially liked the fact that it cleaned the air in the garage while I was sanding. All the fine dust drifted over to the unit and got sucked in. Id Open the lid completely and back the thing up to the garage door. After that I'd bring the garage door up just enough to allow the exit air to escape from the bottom of the unit. It would blow your hair back from 15' away. ....and I don't even have any.
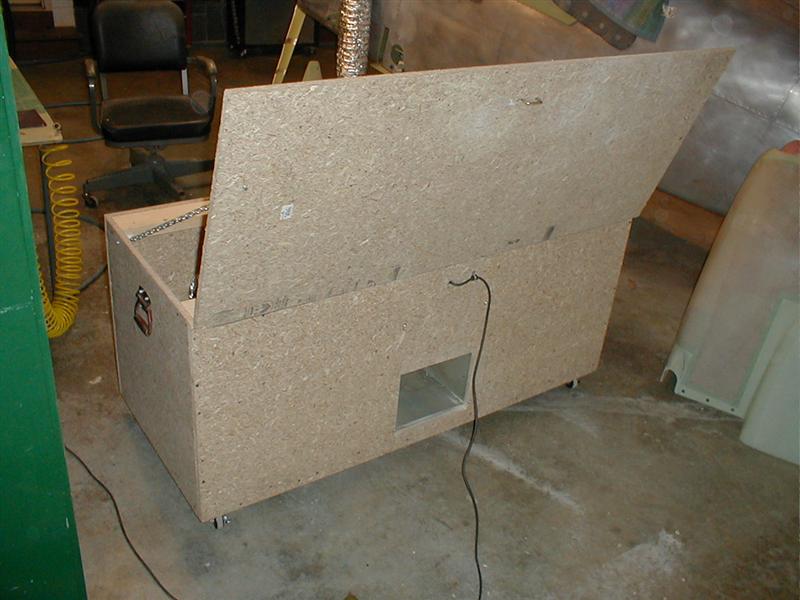
Notice the small exit as low as possible. This allowed for opening the garage a little to get the air out.
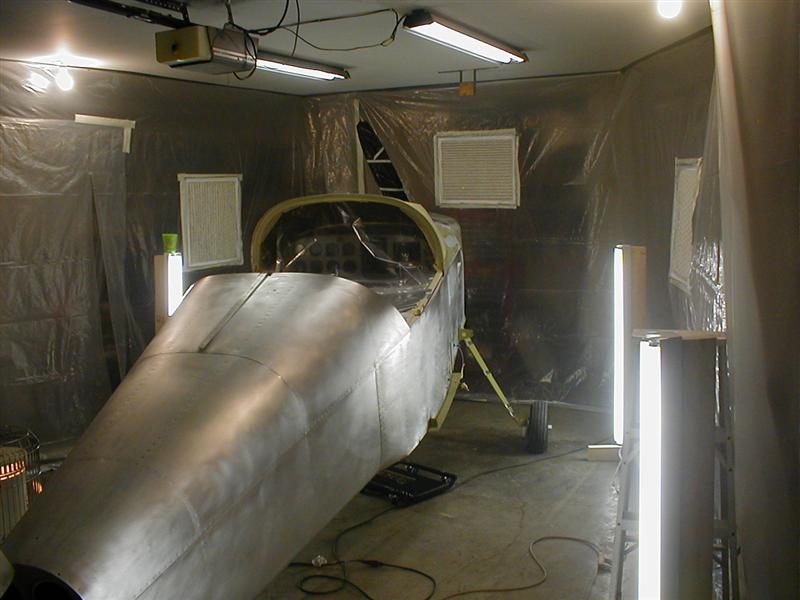
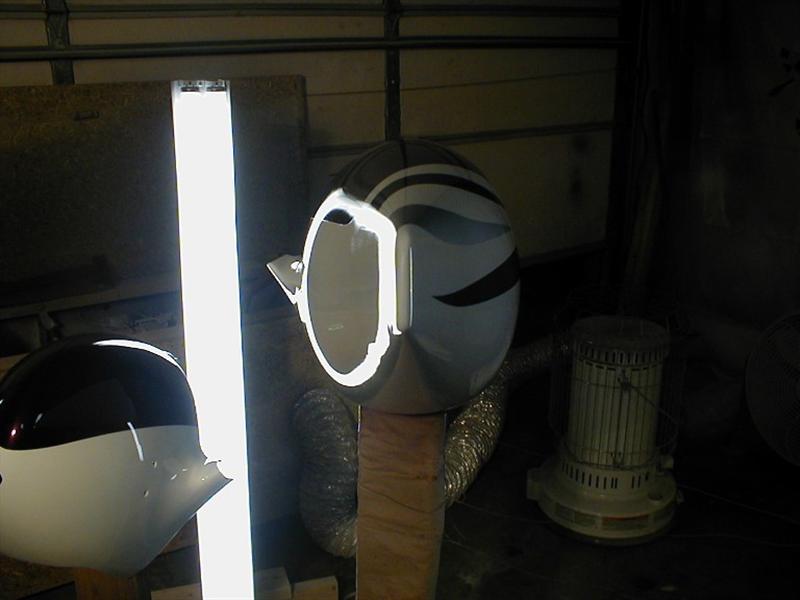
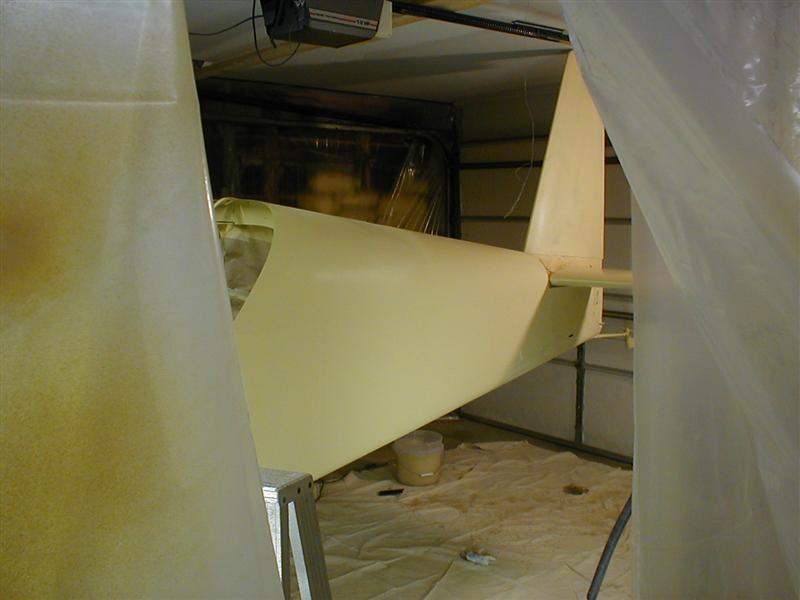
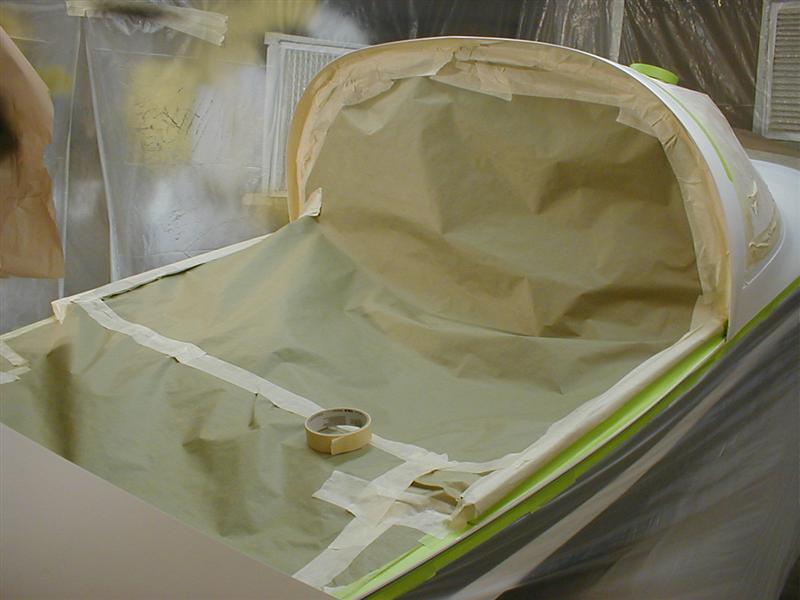
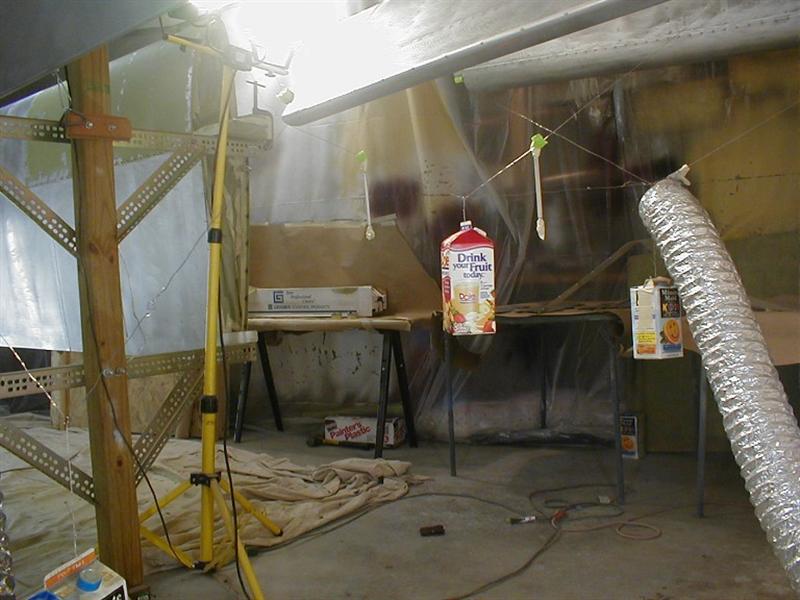
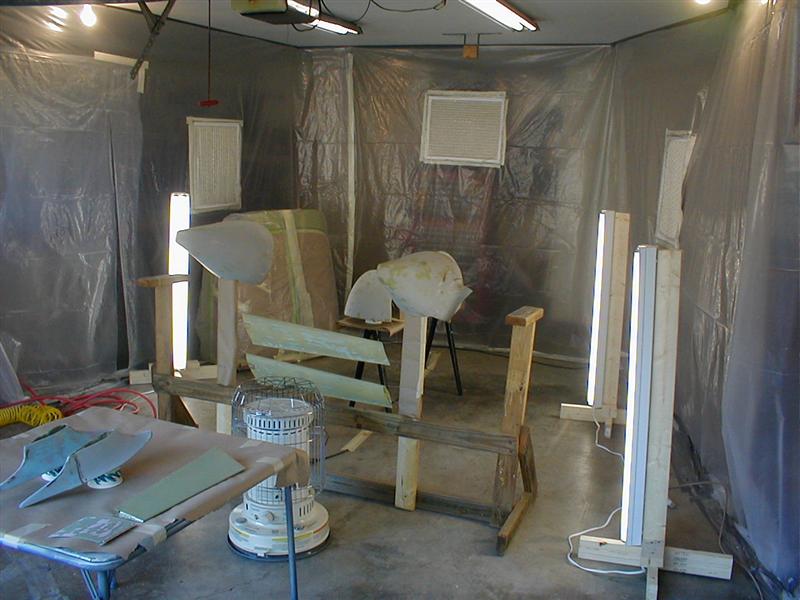
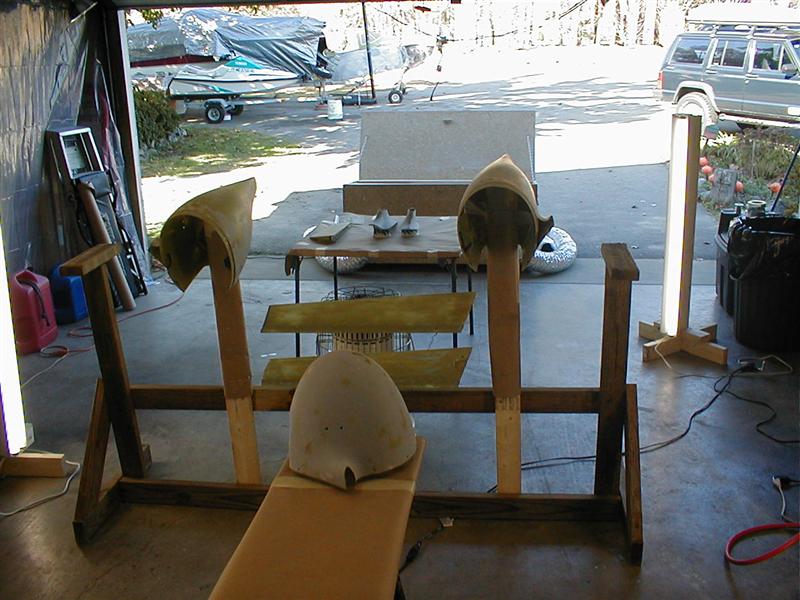
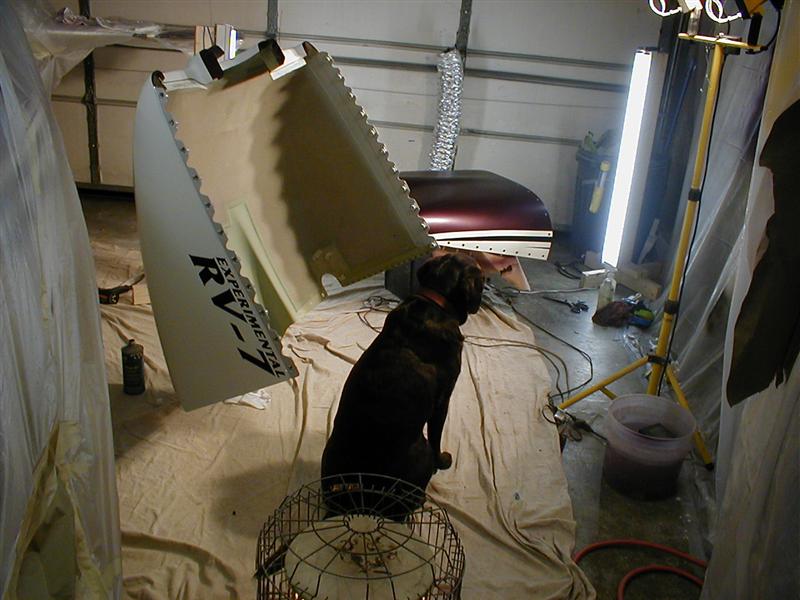
The lighting was made up of some 2X4's and cheap fluorescent lights. I just screwed them to the stands. A simple Christmas tree style stand works fine. You can make 6-8 for under $60. The paint room was made of semi heavy plastic sheeting duct taped to the floor and ceiling. I cut out an entrance with a razor knife. It's important to leave yourself some room outside the cabin. You will need it for mixing paint and dealing with other things. Keeping the dust and dog hair out was a challenge. Always keep the area outside the cabin as clean as the inside. Unlike me, do not spray test patterns on the plastic near the exits or anywhere else you might bump. The paint chips will fall off and haunt you throughout the paint process! I can't emphasize this enough. DONT PAINT THE PLASTIC NEAR YOUR ENTRANCE!!
Tools
A word about paint guns...
Buy what you can afford but don't get too carried away with the spray gun. A spray gun doesn't do the work for you. It helps if you keep it clean but you're the one controlling it. Control is the name of the game when it comes to painting. a $100-$150 dollar gun should work fine. The whole idea is to get a gun that adjusts properly, doesn't leak at the seals and provides a good spray pattern. Many guns do this but there's a difference at about the $50-60 dollar range that you need to be careful about. If you buy a gun that's too cheap, the internals are not made for properly spraying paint. You can always compare the internals by partially dismantling them at the store. My $250.00 gun is no different than my $68.00 Ingersoll Rand. The more expensive gun has a really nice looking body and machined - anodized cap. The internals are the same quality. They both came with the exact same cleaning kit made in Taiwan. The cheaper gun even had an internal filter beneath the paint cup. Not so with the expensive gun. Finally, I gave up the pretty gun and used the all-black Ingersoll Rand for the entire paint job on the plane.
HVLP
First of all, stay away from the HVLP (High Volume Low Pressure) guns unless you're already a pro using them. They are un-natural fixes for applying paint without excessive over spray. They are a tradeoff so that body shops can stay in business. Environmental pressure forces those poor boys to keep using em. They suck. Here's why..
HVLP guns are designed to spray more liquid with less air. Paint that is too thick gets jammed up. Paint that is too thin sprays well but doesn't give you the coverage you need. Unfortunately, amateur painters end up thinning it out to get it through the stupid gun. If they don't do this, they end up cranking up the pressure and blowing the seals out in the gun in an attempt at getting a more normal looking spray pattern. The 10 PSI that they advertise may work for the professionals but not for you and I.
Buy a good quality traditional Automotive Finish Spray Gun that you can run at about 30-40 PSI. It doesn't have to cost 400 bucks. Ingersoll Rand sells the one I used for this airplane at Lowes for about $60. Practice with the thing until you get a feel for it. Shoot some primer on the skins early on in the project. Perfect it then...not when you're putting down the color. By the way.. CLEAN IT AFTER EACH SESSION OR COLOR...FOR THE LIFE OF THE GUN! If you don't, it'll spit chunks at the worst possible time.
Eastwood is a good starting point for paint supplies and stuff like body filler, sand paper, polishing compounds and other goodies. Here's their link..
![]()
If at all possible buy yourself an Air gun kit. They work great for touchup and application of paint without the need to completely mask the surrounding areas. They will save you many headaches during the clear coat stages. You will most likely be trying to figure out ways to cover up the small pieces of trash that somehow managed to end up under the clear coat. You can walk around the plane, zapping the areas that need it as you go. It is the only way to touch up small areas without re-masking or using an artists brush. The brush will always leaves stroke marks.
 VS
VS 
Dont forget a touchup gun for spraying small stuff. Sometimes these are handy for small amounts of paint that you can have ready to use without emptying and cleaning your normal gun.
For the normal gun, go with something like this..
Conventional gravity feed paint spray gun 40-70 psi with 750cc aluminum cup. Standard set-up 1.3 mm. Set-up range 0.6 to 2.8mm. To professionally apply automotive paint and industrial primers and sealers.
If you haven't bought one of these yet..buy it now. I don't care if your building a plane or not. Even if you don't have a compressor to use it...buy it and a compressor to go with it..
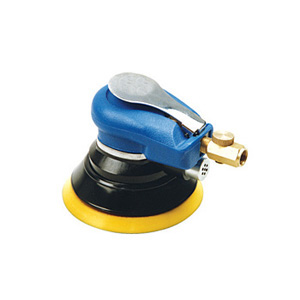
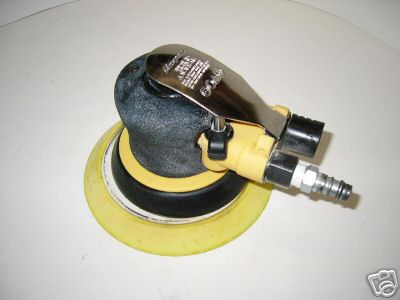
6" Random Orbital Palm sanders are the way to go for any finish sanding. They are fast and smooth and fit nicely in one hand. Wood, Fiberglass and aluminum can easily be sanded with one of these. Many stores carry the self-sticking pads to go with them. Buy one in a standard size. While you shop for one, take a look at the available sandpaper discs. They come in different sizes. Buy the sander to fit the discs that you can easily find.
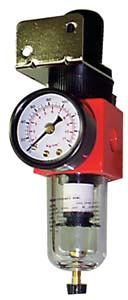
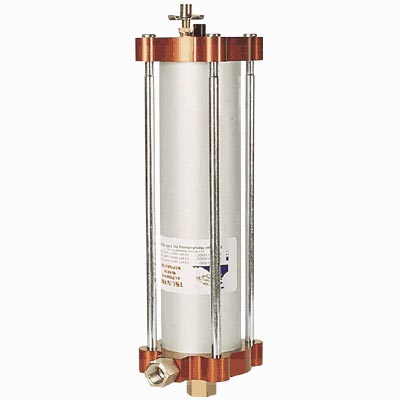
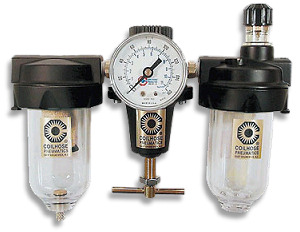
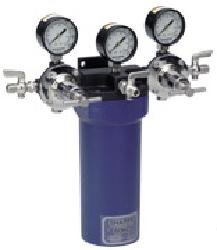
Water separators are important because water condenses in the hose due to heat differences and pressure. The longer the hose the more water. Your compressor is also a water generator. Simply put, install enough filtration and water separators to assure no water comes out at the gun connection. There are diagrams posted on the net on how to set up an optimum shop with proper airline routing and separator installations. Look at them. When your done, make a hose only long enough to reach the areas you will paint. At the beginning of that hose, install a separator and drier combo. That's the last place to do it without attaching a drier at the base of the gun itself.
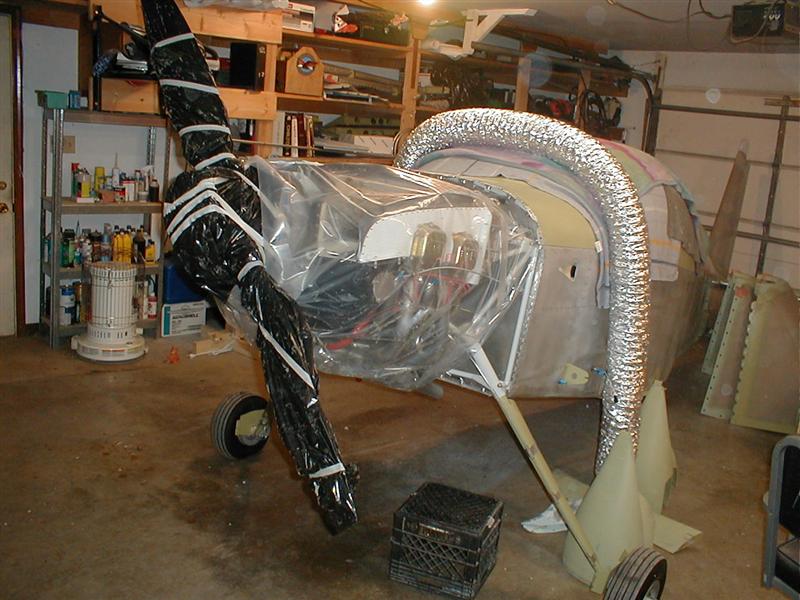
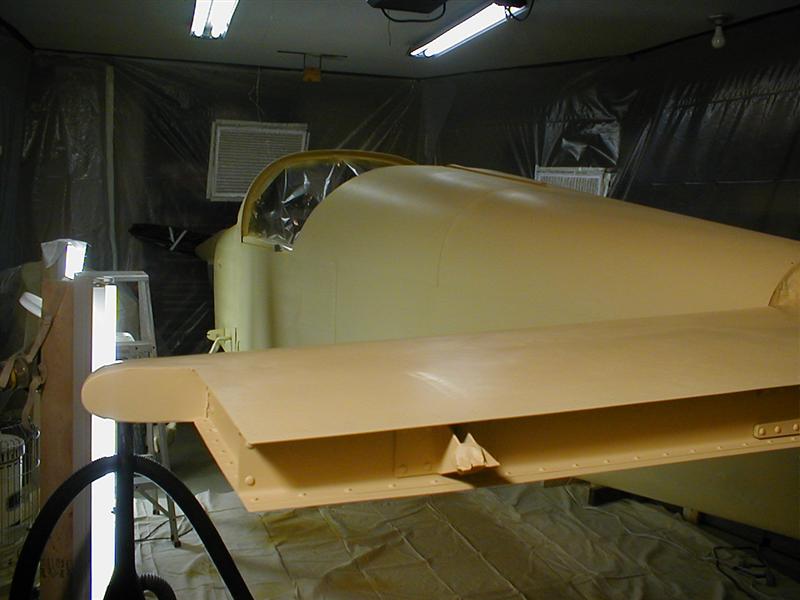
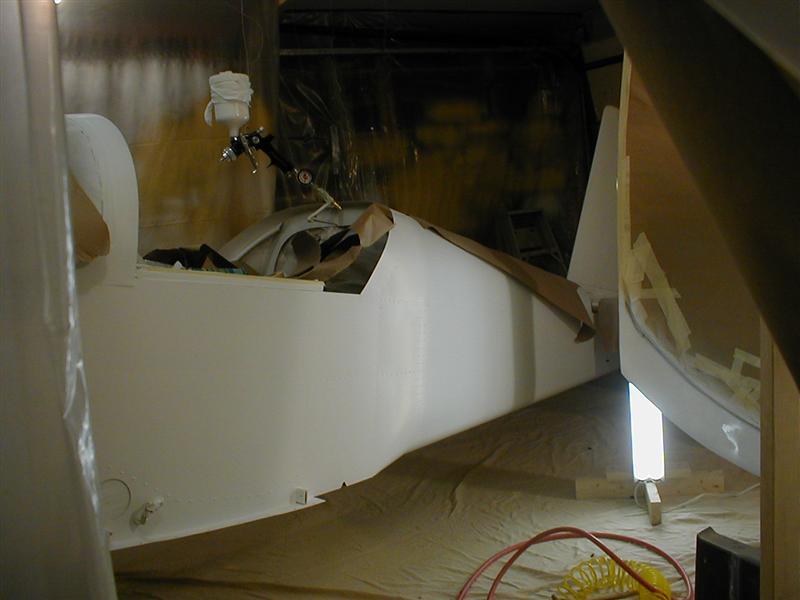
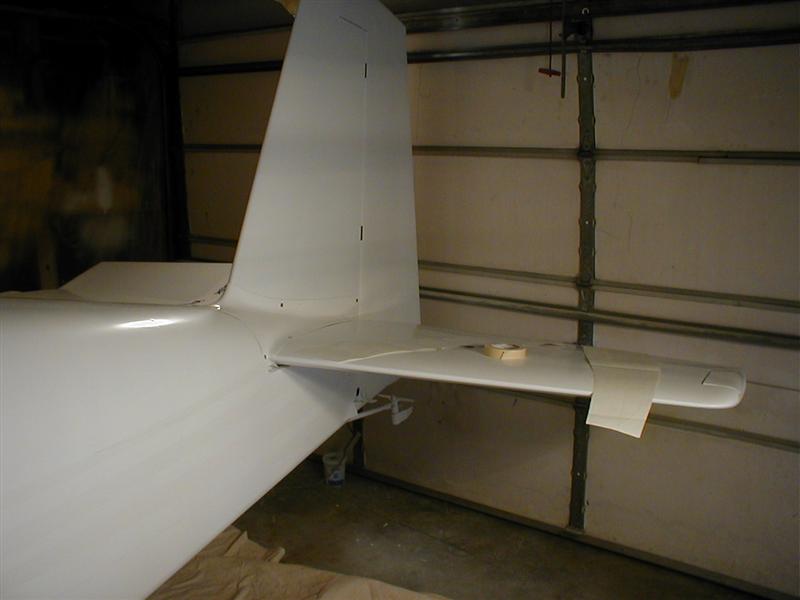
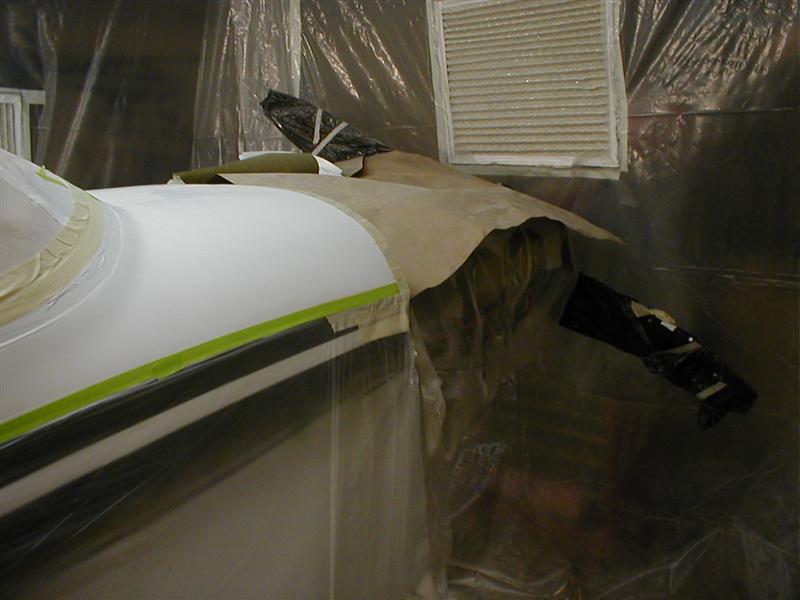
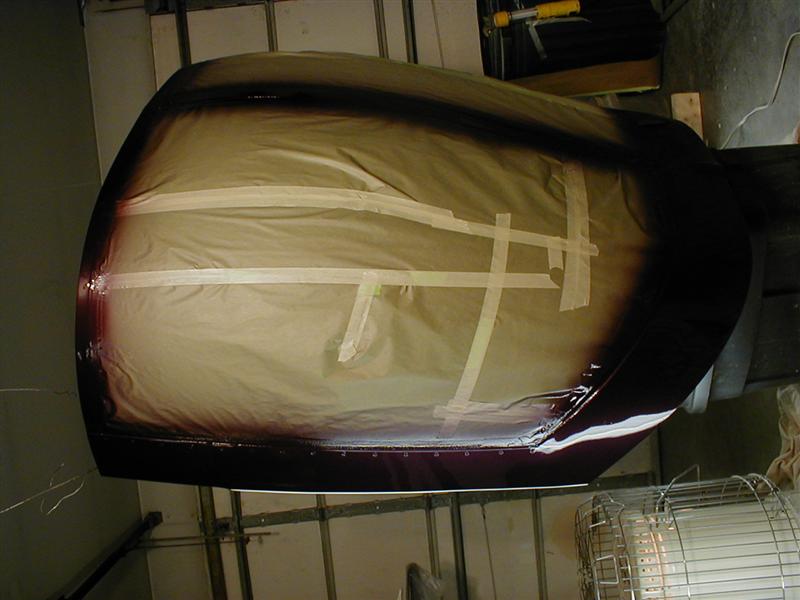
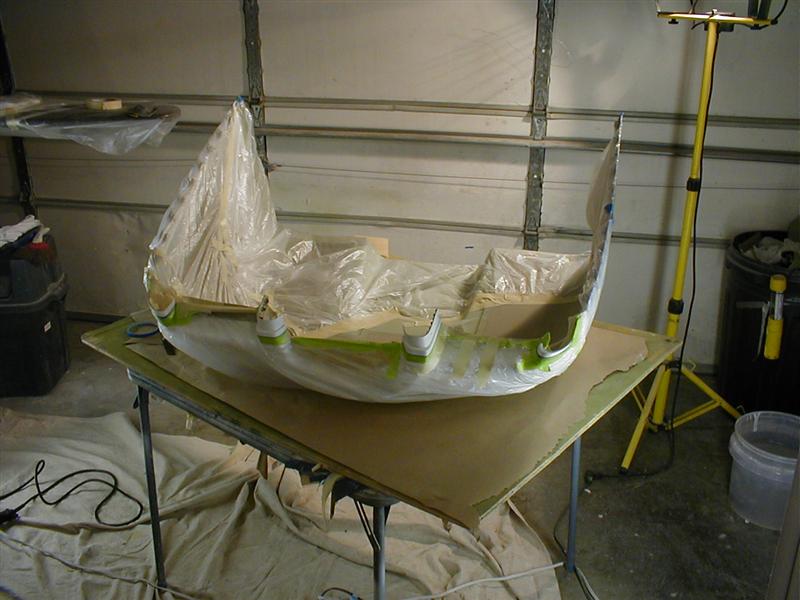
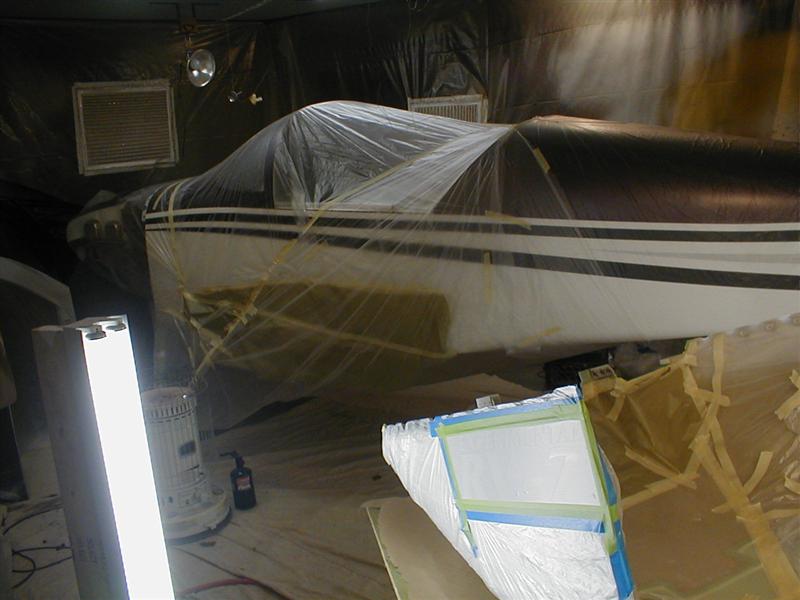
Cover your stuff up. The overspray has about the same consistency as sanding dust from fiberglass. It will dust everything in the area! If you're painting Polyurethane it is an absolute necessity.
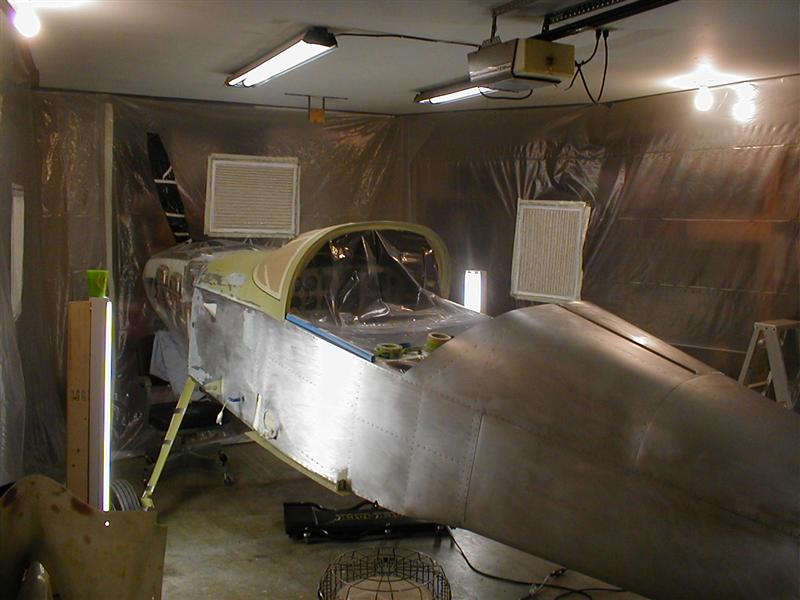
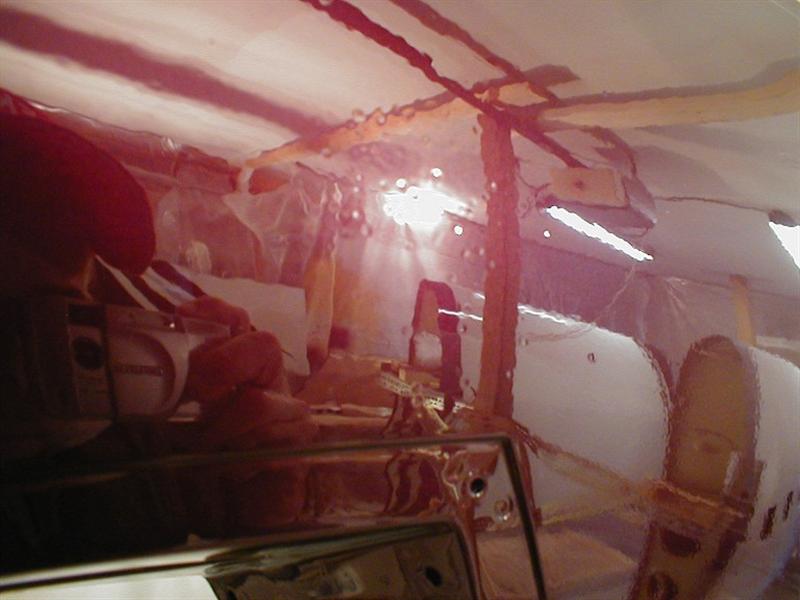
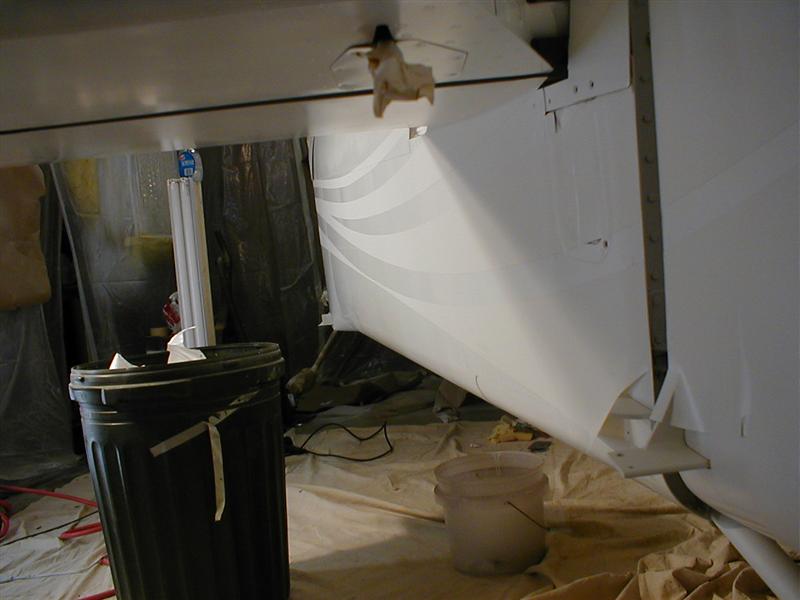
Notice the filters in the plastic. This allowed for inflow of air without the outflow of fumes and overspray. It does nothing for filtering. It simply allows the blower to operate without sucking the booth in on itself. If they weren't there, the walls would have torn from the floor and ceiling as soon as I turned on the blower.

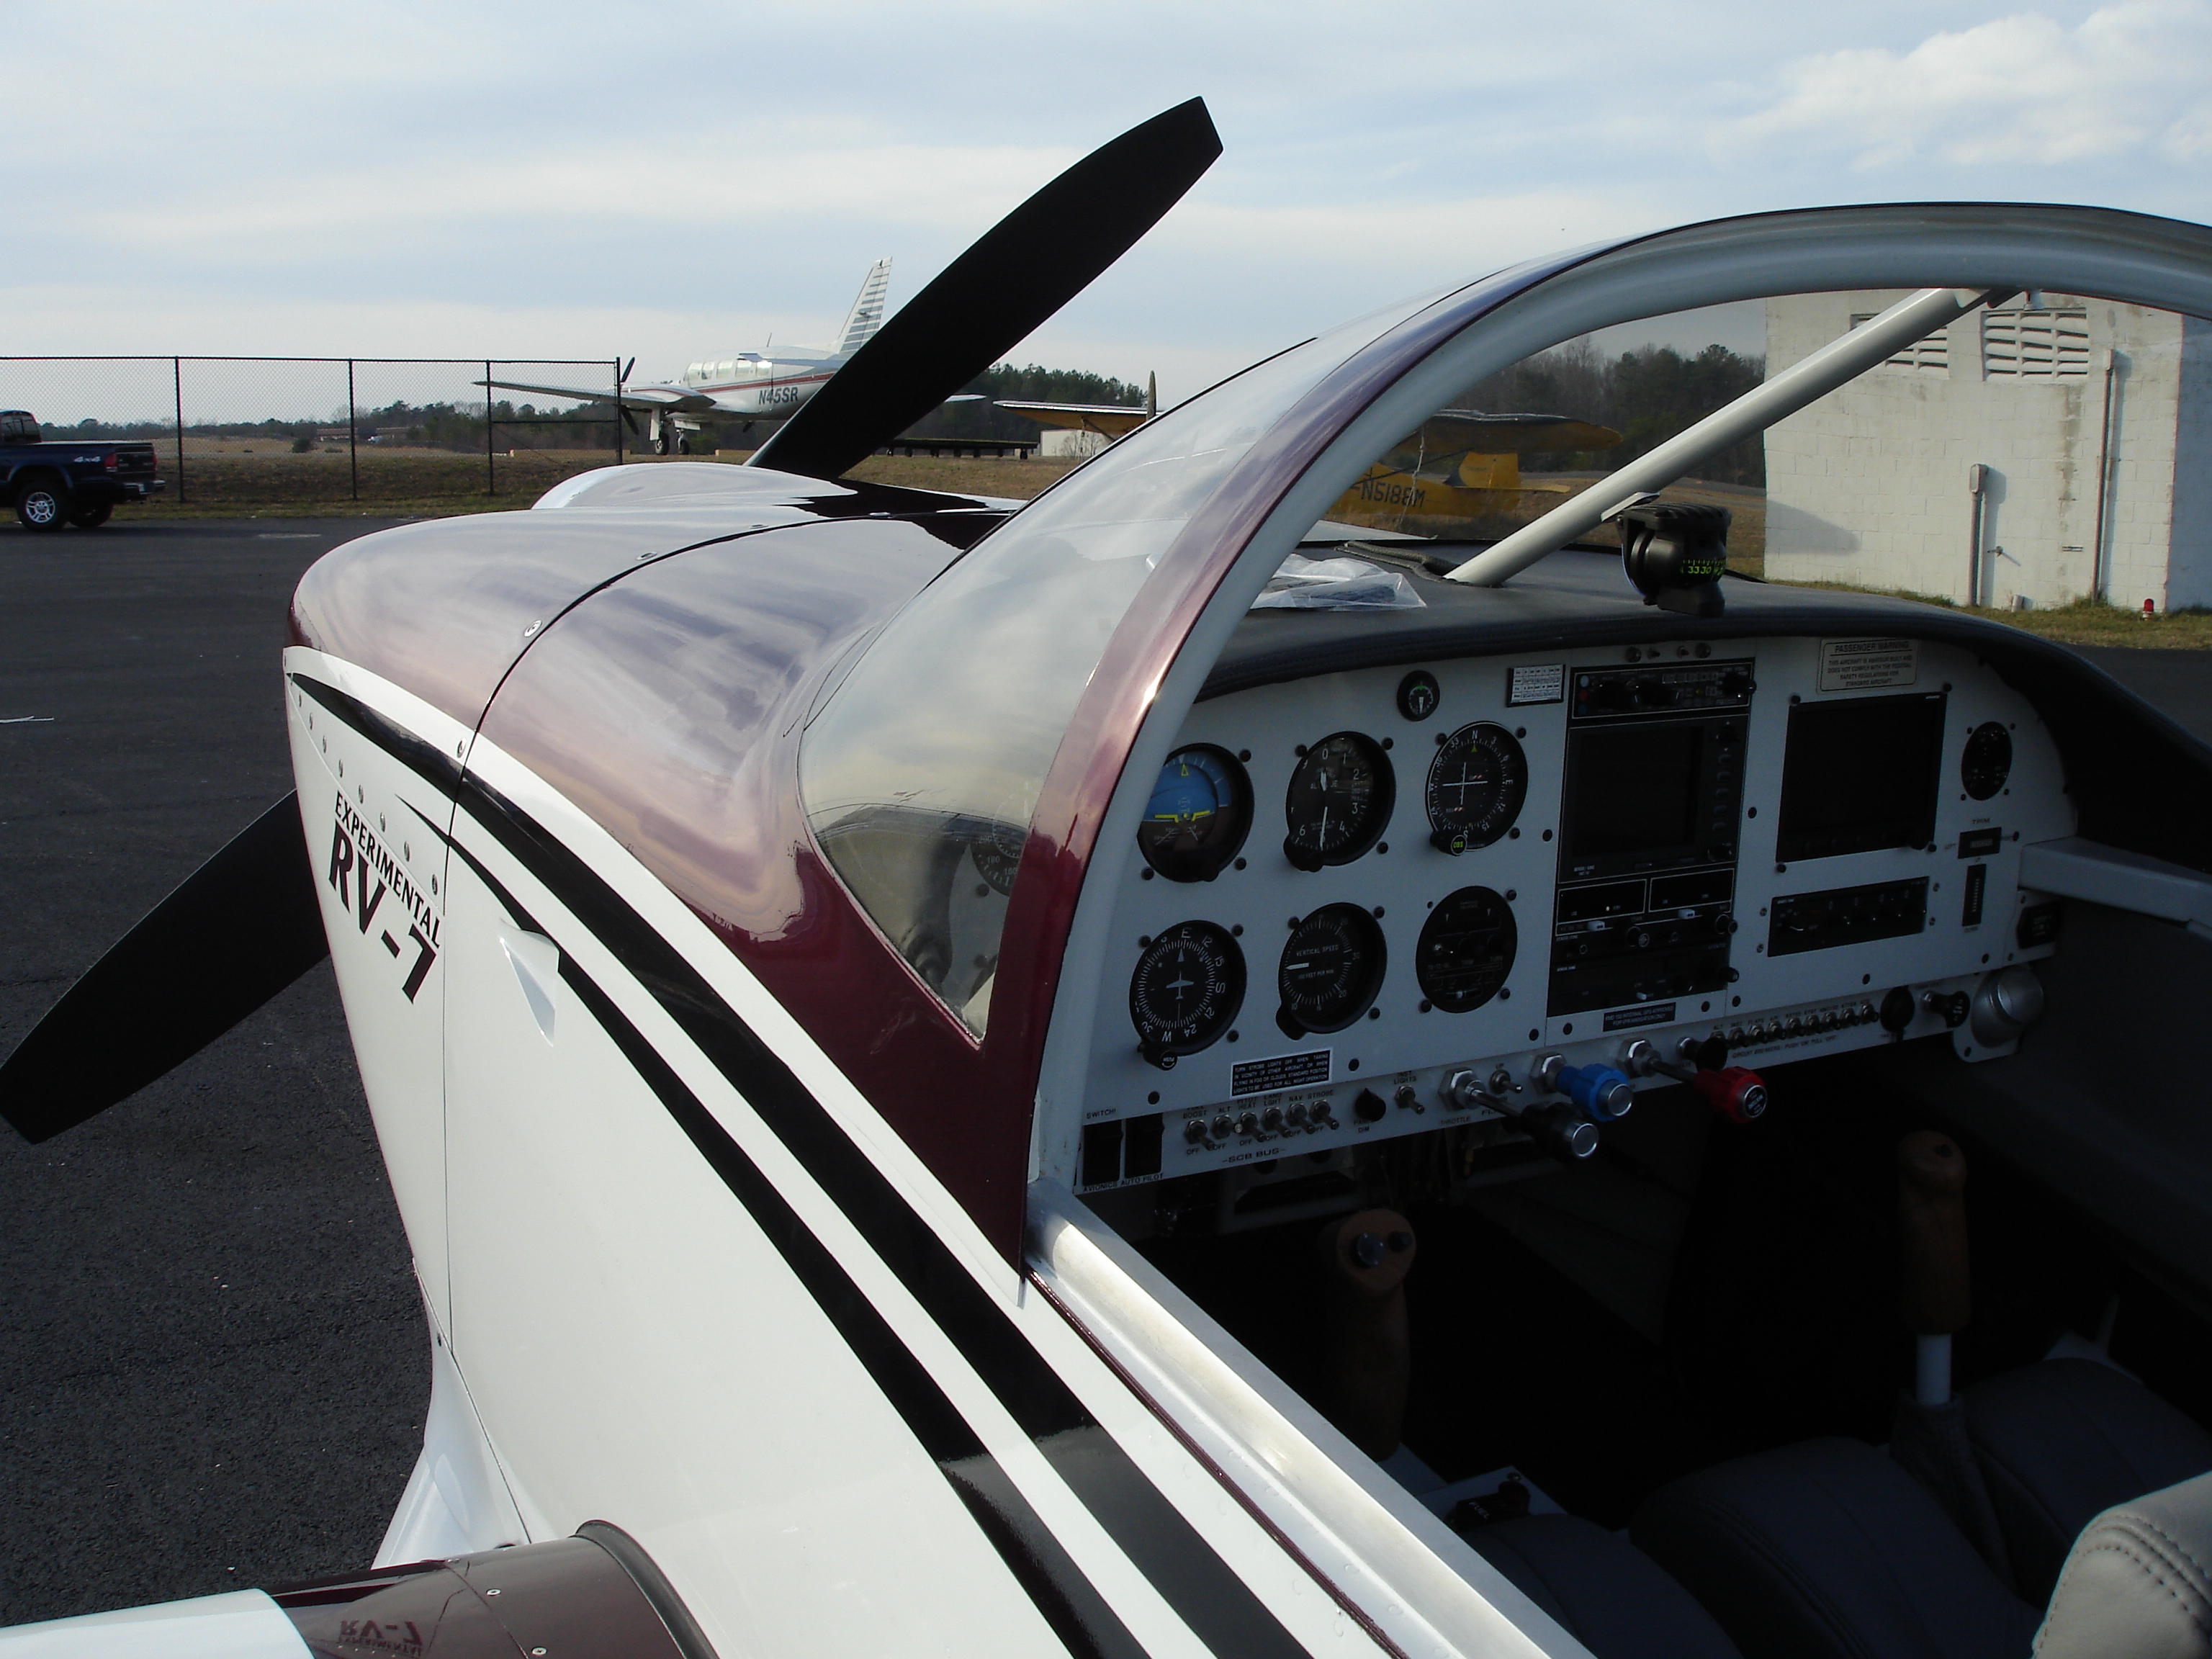
The first time you look at one of these cups it might intimidate you. Actually each paint has a specific mix ratio of hardener, thinner and paint. Different primers, urethanes, epoxies and fillers have different mixing instructions posted on their data sheets. The cups are laid out with markings for most of the known ratios. Just turn it until you see the one you're looking for. They are set up to allow for mixing of different quantities. Nothing complicated at all.
Paint Prep
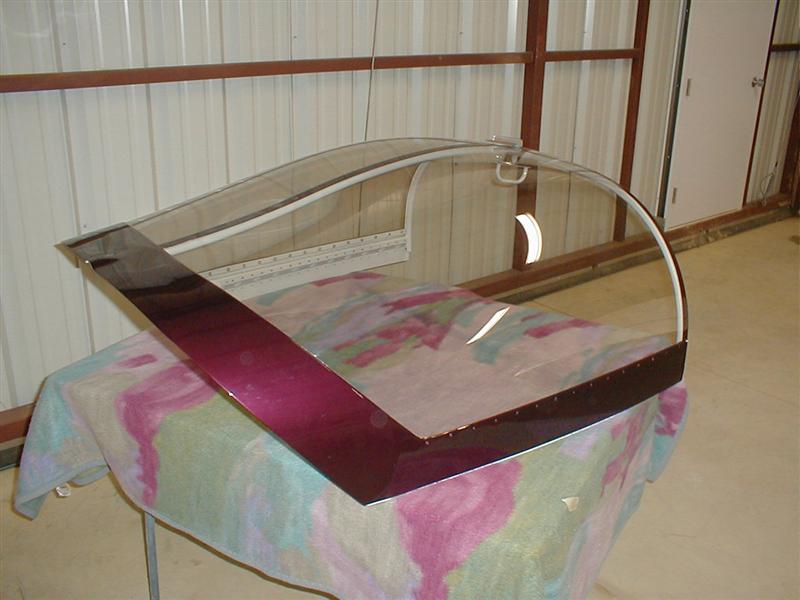
It doesn't matter how bad you want to cover up all the little blemishes. Clean everything before you put one drop of primer on the plane. It doesn't matter how pretty your work is. Building an RV requires ugliness at certain stages of the build. Your canopy and windscreen are good examples. I'm one of those guys that like to see a nice uniform look to everything before I'm comfortable going on. Paint Prep is the body work, blending and sanding required to assure a perfect looking plane after the paint is finished. Now is the time to forget about pictures and start looking over everything to see what needs to be fixed prior to paint.
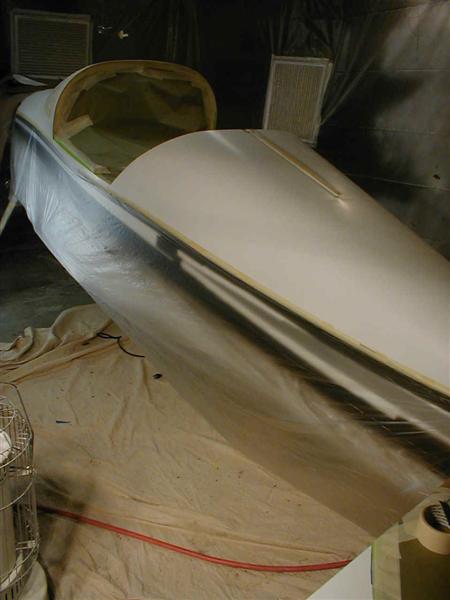
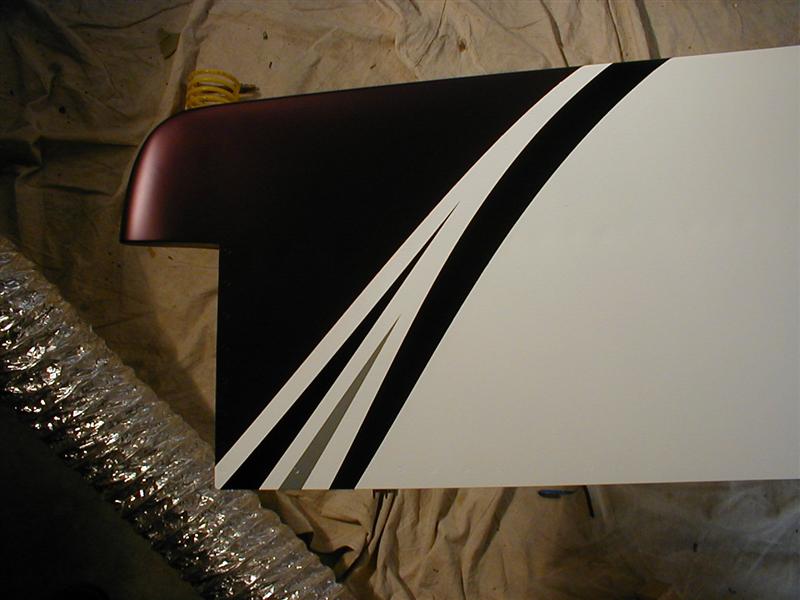
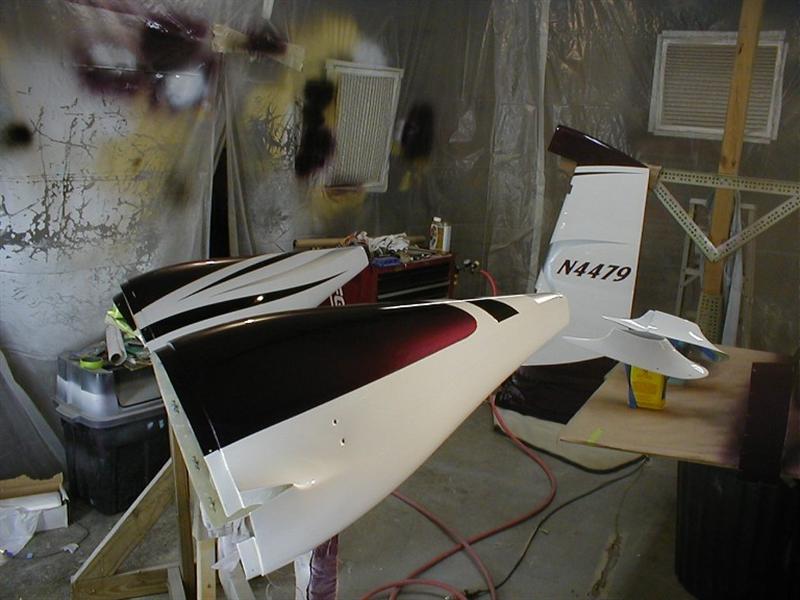
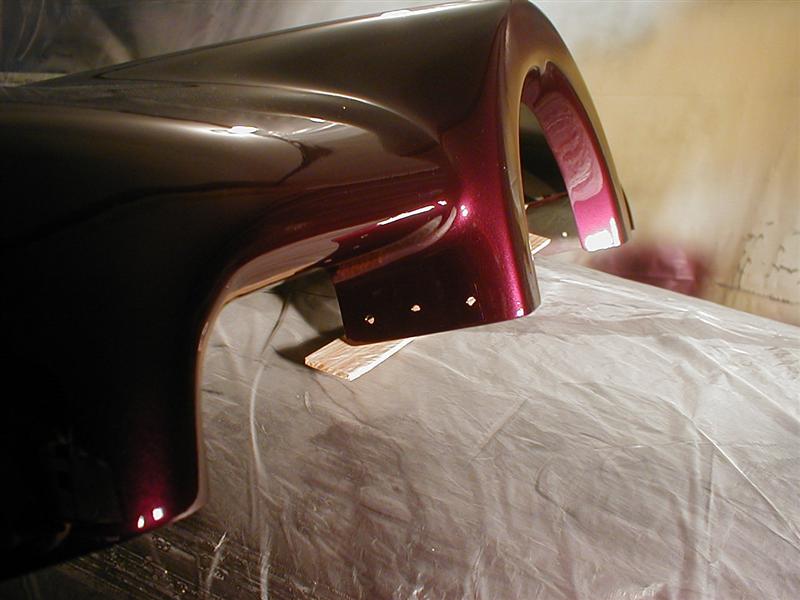
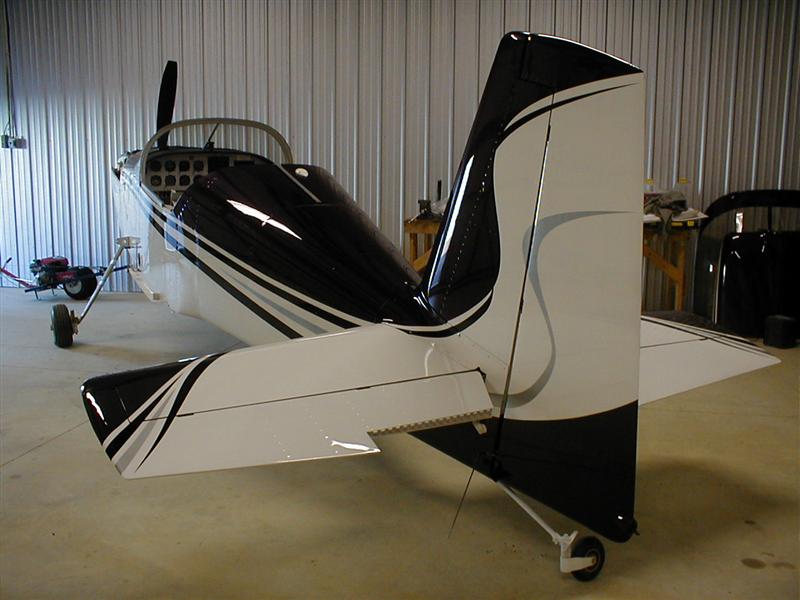
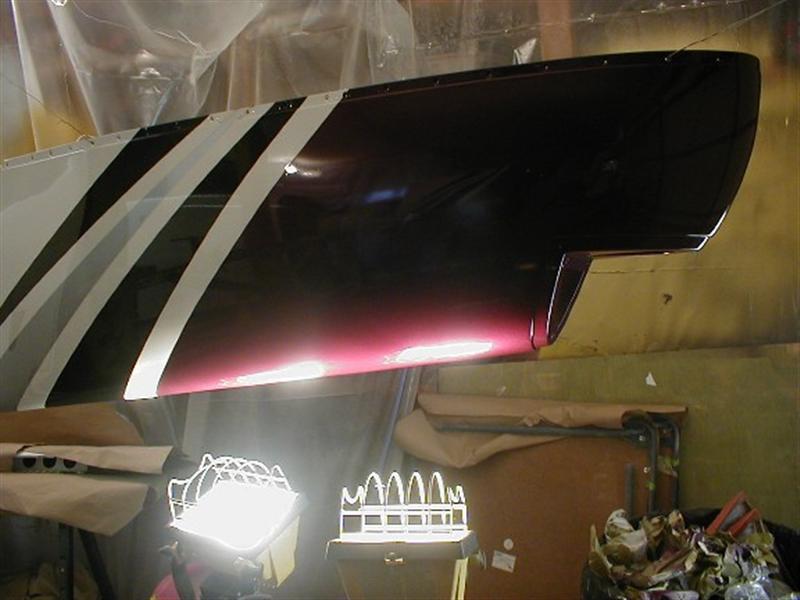
Color can have a lot to do with how much time you need to spend on things. Dark colors tend to show more flaws. The lighter it is the more things seem to blend in. Stark White or insignia white don't allow your eyes to focus well. It's like overexposing film. Your eyes tend to get the big picture but miss the small details. Keep this in mind. It might save you a little time on areas you might otherwise be concerned about.
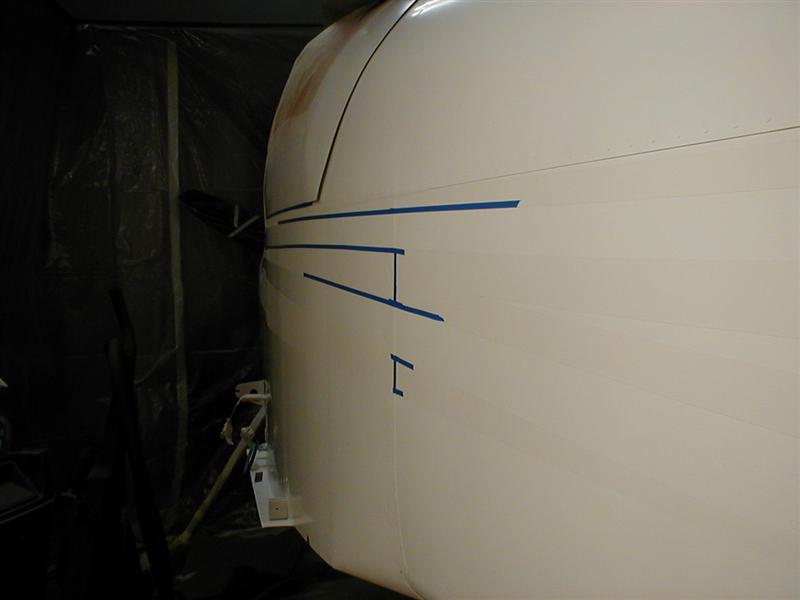
Take a good look at the aircraft. Shine the lights from all angles so that you can see the imperfections. Get up close and check for rivets that may sit high. Look for riveting marks or dents that you may have forgotten. Mark them with a Sharpie so you don't forget where they are. Take a pencil and do the same to the fiberglass areas. Don't worry about the pin holes in the cowling or the gear legs yet. I'll tell you a good way to get rid of them quickly below. Just mark the obvious areas. Now, go back over the plane with some 2-part lightweight body filler. Use a Bondo spreader to smooth out the imperfections. Use the random orbital sander to hit the rivets that sit a little higher than the others. You don't need to sand the head off. Just sand enough to get it a little lower. If you don't like the idea of filling in over existing rivets (I dont), thats fine. Leave it alone. The primer and paint will fill more than you might believe. If it's really a nasty one, fill it and taper the filler out along the row so that the rivets seem to slightly disappear and then reappear along the row . You'll see this on any aircraft. It looks like the rivets were a little tighter...or that a little more paint covered them. It's a lot better than a big nasty mark from your rivet set. Don't use big gobs of filler on big dents. Get inside if you can, and peen it out. If you can't, chalk it up to a learning experience and leave it alone. Sometimes you can do more damage than it's worth trying to fix it.
Use a sanding block where practical. Sanding blocks were made more for cars than aircraft. Aircraft are normally riveted together so you really never have a flat surface. The sanding blocks still work well but you will need to get down into some 'dips near the dents and rivets. Use a small circular motion all the way around the areas that sit low, blending as you go. Always run your fingers across the area to feel for a good blend job. Do most of your sanding WET and always keep a sponge in one hand, wiping as you go. Wet sanding cuts better, keeps the dust down and makes your sandpaper last 10 times longer. Keep a good light source out in front of you. Don't rely on overhead lighting at all. You're always looking for reflections of the light across the surface coming from the direction you're looking. This is true for the prep as much as it is for spraying the paint.
If you feel guilty about removing the Alclad while sanding, Alodine the reworked areas when you're done. This is especially true if you plan on passing the aircraft down to your great-great grand kids. Otherwise, prime and paint. If the paint comes off 20 years down the road, paint it again. Alodine is really meant for areas hidden from view or reach for the life of the aircraft. It is much more important during the build. If you didn't know it, Pro Seal is probably the best form of corrosion preventative between faying surfaces. Factories still use it in the manufacture of 50% of aircraft structures. All the skins and many of the internal ribs and stiffeners are shot 'wet' with 8802 (Pro Seal). It comes in many different forms and consistencies. Never feel bad about using it wherever you want. Keep the weight in mind though.
By the way...clean the parts again.
ALODINE and ALCLAD..
Alclad aluminum still needs some etching for the paint to stick. Self etching primers are great but it doesn't hurt to hit the Alclad with some green Scotchbrite. It's added assurance that the paint has something to stick to. Never paint bare Alclad without some form of etching. The paint will flake off for sure. The primary function of Alclad is to protect non-painted surfaces. Standard practice is to use Alodine on any areas that no longer have Alclad on them. In the factory they made us Alodine every little hole after we drilled them. A typical part would be dipped in Caustic Soda and then run through the alodine tanks. For mods in the field we'd use a 2 part kit of deoxydine and then alodine. Alodine does not break through a fresh alclad surface. For a nice uniform yellow/brown color, hit the part with some green scotchbrite, alodine for about a 30-60 seconds and then rinse with water. If you are using the powder stuff, be careful not to let it sit too long. People have a tendency to mix the powder too hot. A tablespoon treats about a gallon of water. It's been a while since I used it so check the directions. We never did. We just mixed it. NEVER get powdered Alodine and MEK close to eachother. It will spontaneously ignite and form a large fireball. Other solvents may do the same. There are some additional treatments available so check it out on the net. Alumiprep, Metal Prep and some others are being used by builders who do their own paint.
Shooting Paint
A paint job is tough because of many things. It isn't all at the gun. Some key components of spraying are as follows:
1. Be in decent physical condition and able to see, move, concentrate and control yourself.
2. Have a properly cleaned and working spray gun at all times. Clean and adjust your spray pattern again
3. Always have proper lighting at the necessary angles across your work.
4. Be organized. Think ahead about where things are and what might get in the way. Have it all ready to go or out of the way.
5. Repeatedly check and drain your water separator.
6. Maintain emergency tools nearby. A needle, razor blade, sponge, tape etc for debris and bug removal.
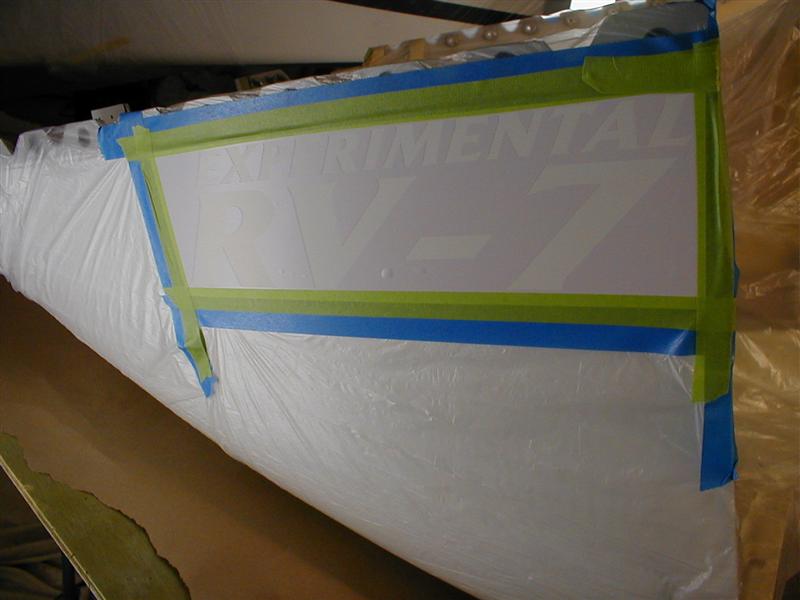
7. Don't spray practice paint on the plastic walls near the entrance to your booth. You'll be wearing it after a few walk byes.
Physical ability never gets mentioned when you talk to people. You will be crouching, rolling, standing, kneeling and sweating while wearing a mask, rubber gloves and a suit. You'll have a paint gun, full of paint and connected to a hose in one hand. You will be doing everything possible to keep it steadily moving back and forth as you go. The stress involved in this is what normally causes a lack in uniformity of the paint. Among other things, droops, sags and changes in metallic's are often due to the painters arm getting tired.
Keep your gun clean. As long as your spraying a light consistency paint, you can get through 5-6 cups without a problem. Heavier paint will start to gum up. It normally happens at the nozzle in plain sight. Just look at the front of the gun at the spray bars. Clear Coats and metallics will collect quicker than the regular paint. Check it as you go. You will need to judge this depending on what you're spraying. Primers also tend to be a little thick. A nice trick is to wrap a rag around the base of the lid on the cup. It will catch paint that occasionally drips from the top of the cup vent while inverted or at severe angles.
Proper lighting is an absolute must in a good paint job. Ceiling lights won't do it. You need side lighting that you can move. Go and buy 6-8 36" double fluorescent tube light fixtures. Screw them to a 2X4. Then make an X-mas tree stand for each. Stand them up all around the booth. Run extension chords as needed (Don't blow your fuses) . For best results the lights should be in front of the area your spraying. Slightly behind you...but a bit in front also works well under certain conditions. Whatever the case, make sure you see the light reflected across the surface. I mean the light bulb itself. Not the ambient light in the area.. Bouncing the light off a wall also works. The wall acts as the bulb, giving you a larger field of view for the spray hitting the surface being painted. If I haven't said it yet, that's what your looking for. You want to be able to see the paint mist as it hits the surface . This is where the "Wet" line is. Your next stroke goes 30-50% across the last.
Organization is important for some but not all. If you've read this far, it probably does for you so I won't say much. Just remember Murphy's law. It all comes true when you're trying to paint your own plane. Paint falls off the bench, dirt gets in the paint, the gun clogs, your hose gets wrapped around your leg, tape sticks to your rubber gloves..etc. The better organized you are, the less this kind of stuff happens. Keep the junk on the outside of the booth if possible.
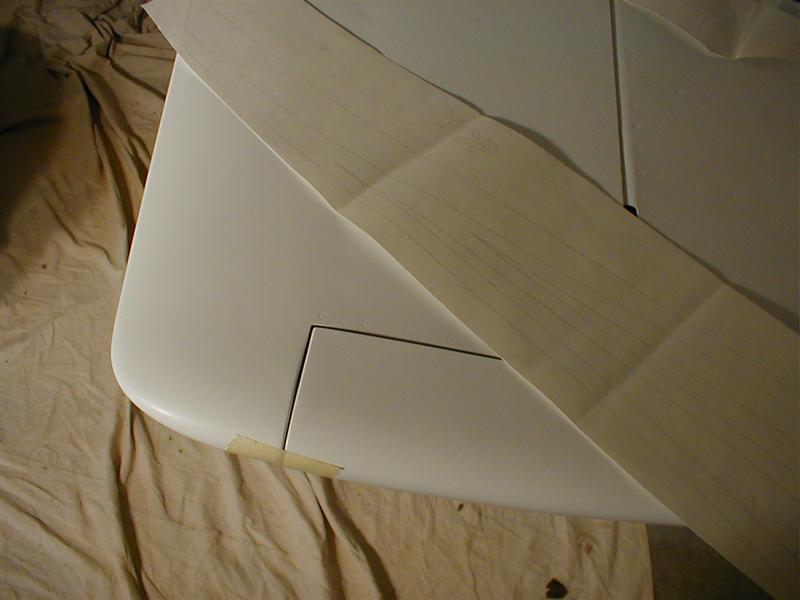
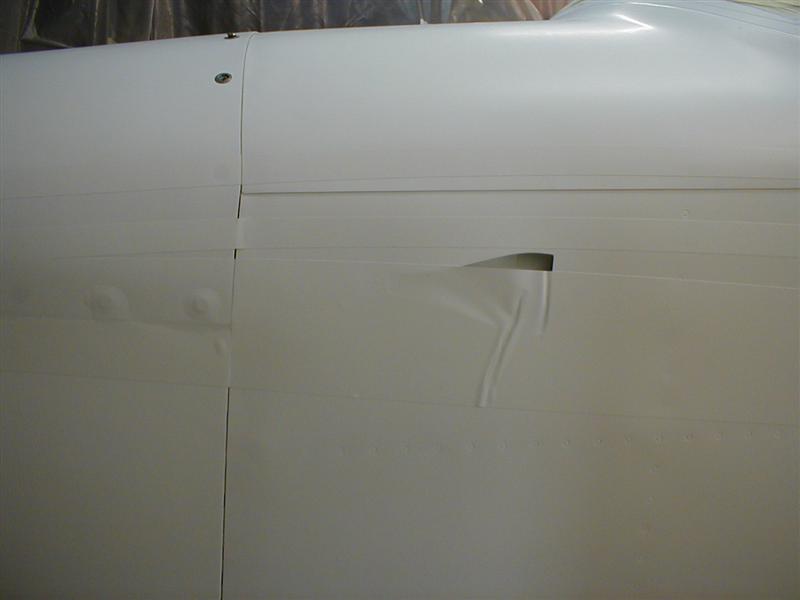
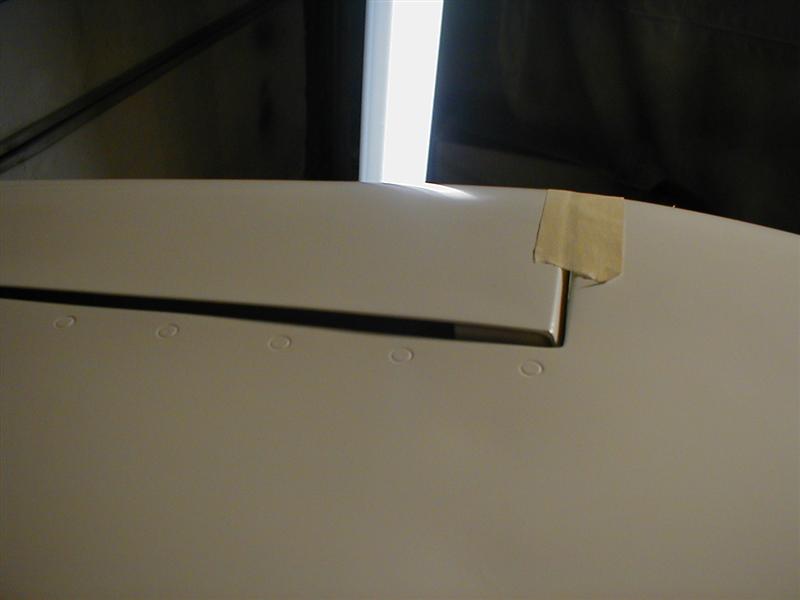
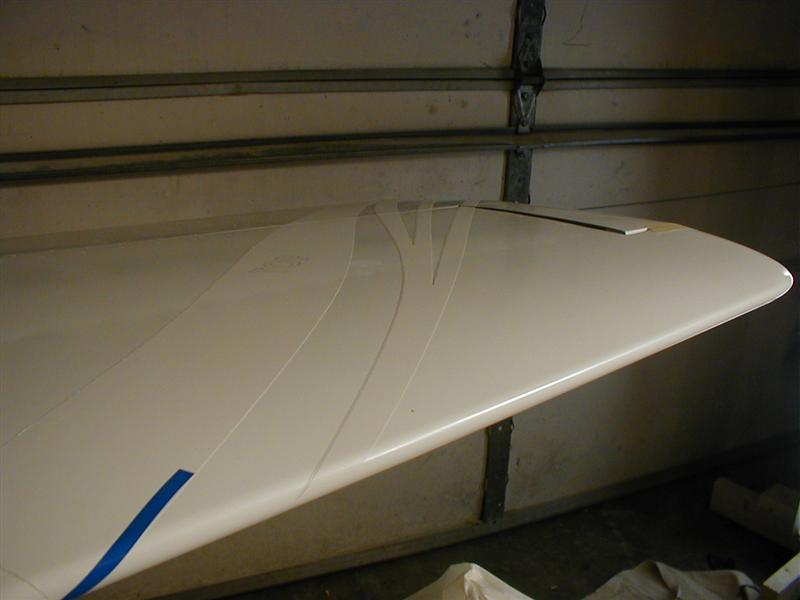
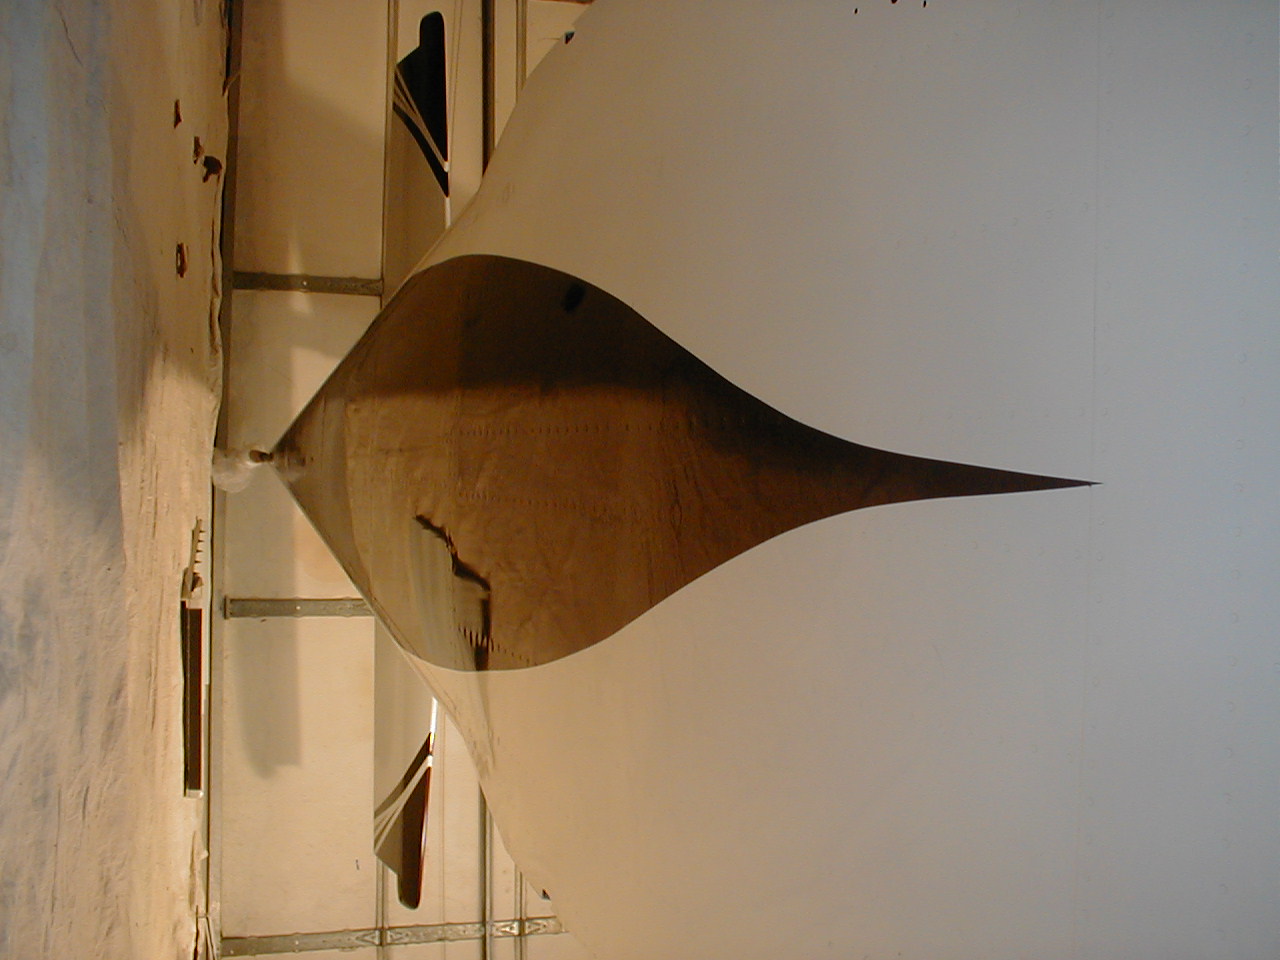
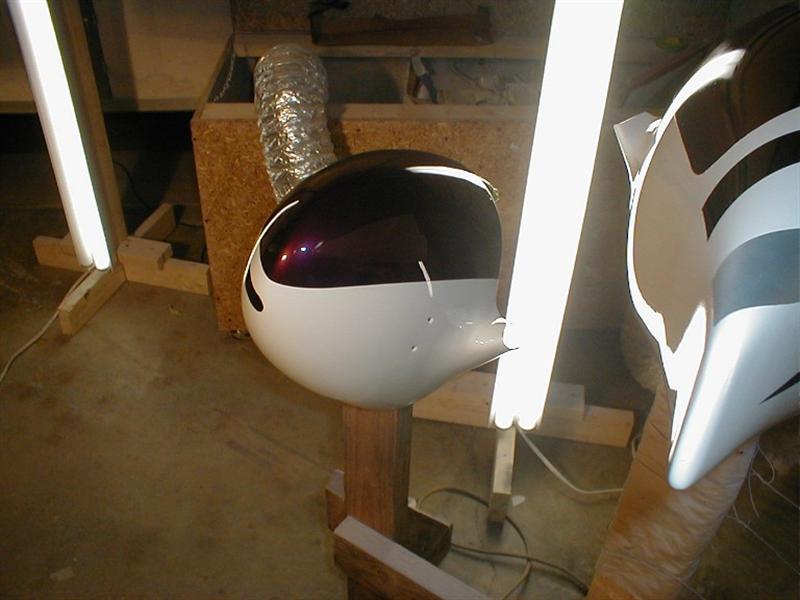
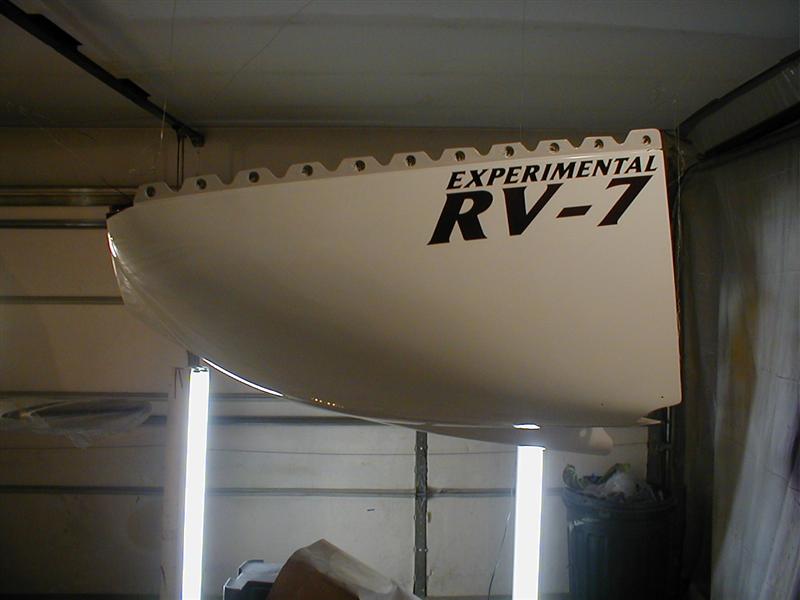
Here's a shot of Bad orange peel on my wingtip. This is the result of water in my line. Keep a constant lookout on the water separators. Never allow it to reach your last line of defense at the base of your painting hose. If it gets to the last separator, you waited too long. Buy a good separator and run your lines properly. From the compressor run it across the floor. Install a separator a few feet from the floor. From there, run it up towards the ceiling and then down again to your pre-paint hose regulator/separator. You do this to allow moisture to fall back down the line in the vertical run on the compressor side. Drain it there before it gets to the top and falls down on the paint side of the system.
Keep handy-dandy tools around to pick bugs and fuzz out of the wet paint. Razors, needles and any micro thin device can be used. Get the stuff out immediately. The quicker you do, the better the chances are that the paint will settle back into the area.
As dumb as this sounds...think about it. If you make your booth out of plastic there's a 1000% chance that you will be spraying it as you make adjustments and clear your gun. You will always be looking for a fresh place to test the spray pattern. The entrance is the most likely place because it's where you walk in with the new batch of paint. If you spray the plastic it simply flakes off if disturbed after drying. Once it starts, there's no stopping it. From that point on any small burst of air sends paint flakes flying for miles. Once they land all over your head and shoulders, you won't see them until you're spraying the clear coat. Then, out of nowhere, one fly's down and lands smack in the middle of your perfect glossy clear. I've growled more than once about this. Keep the entrance to the booth clean.


The contents of this site are copyright © 2006, Experimental RV-7 & Vetteworks, All rights reserved