


Everyone's gotta love this part of the kit. I have this thing about not taking pictures when I'm really into something deep. Either that or I forgot where the camera was. Either way, I didn't get all that I should have for this page. Plenty on the forward section but not many on the sliding part itself.
Basically, the entire molded plastic piece comes as one. You have to magically cut them in half where you think you should based on what you have to work with on the plane. There's really no measurements or specifics. It's one of those 'Big Picture' projects that you work at slowly. Vans does good at showing you how they did it. Doing it yourself doesn't always go exactly like Van's instructions.
Here's some immediate pointers..
1. Think about what you're trying to do...and what matters the most. Don't get overly involved looking for specifics.
2. Measure twice...Cut once
3. Use the right tools for cutting and drilling Plexiglass. Their cheap. (Cutting Disc and bit).
4. Work slowly, push slowly and keep the temperature on the warm side.
5. Always carefully deburr your holes and edges so that they are smooth. Polish them. Plastics are always looking for a place to start cracking. If you do this, there wont be a place for one to start
Cutting:
Basically, you get yourself a 20-25,000 RPM 3" cutting disc set up in a die grinder. Mark your line(s) and cut.
Always make your cut so that the cutting wheel is pulling..or tugging away from you. Never do it the other way. It's un-natural and will result in the wheel jumping. Use one hand around the die grinder - pulling the trigger. If possible, use your other to hold and steady your wrist/hand that's holding the die grinder. This will help control. I see all kinds of people using a die grinder the wrong way. There's definitely a right and wrong way. If the sparks, plastic, fiberglass and all the little chunks are hitting you, you're doing it right. If they're flying in front of you, you're doing it wrong. Unfortunately, it's a pain in the face...and the inside of your arm..or on your feet.
As you cut, you'll notice the plastic bunching up..or melting a bit. This is normal but begins to gum up the disc. A good way to cut down on this is to cut a good depth groove along your line. Then come back with a full speed, slow feed cut with the disc meeting the plastic in line with the disc center. In other words...so that your disc looks like its half in and out of the plastic as viewed from the side. If the stuff keeps bunching up, put down the die grinder, wait about two seconds and then knock off the dried melted plastic with your finger. Never...never attempt to break the parts apart before a complete cut is made...all the way through. This is a $1000 piece of plastic...not some cheap little test piece.
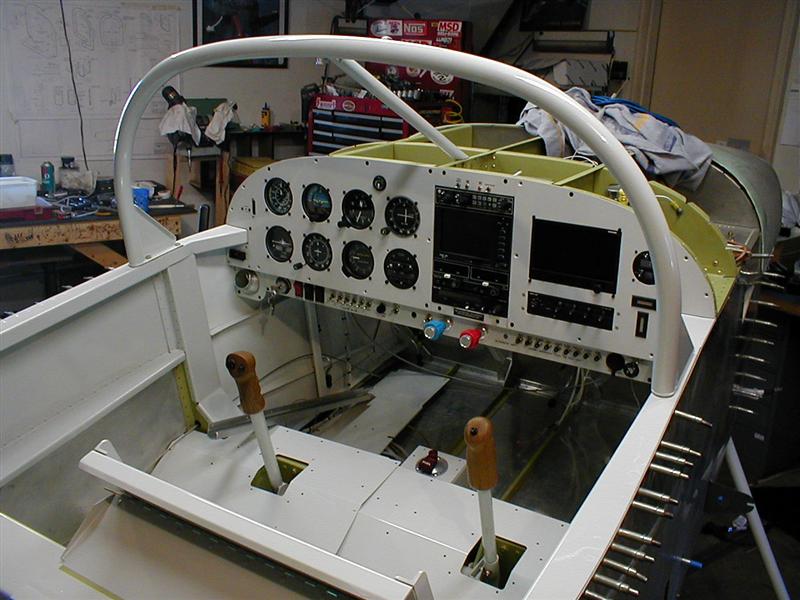
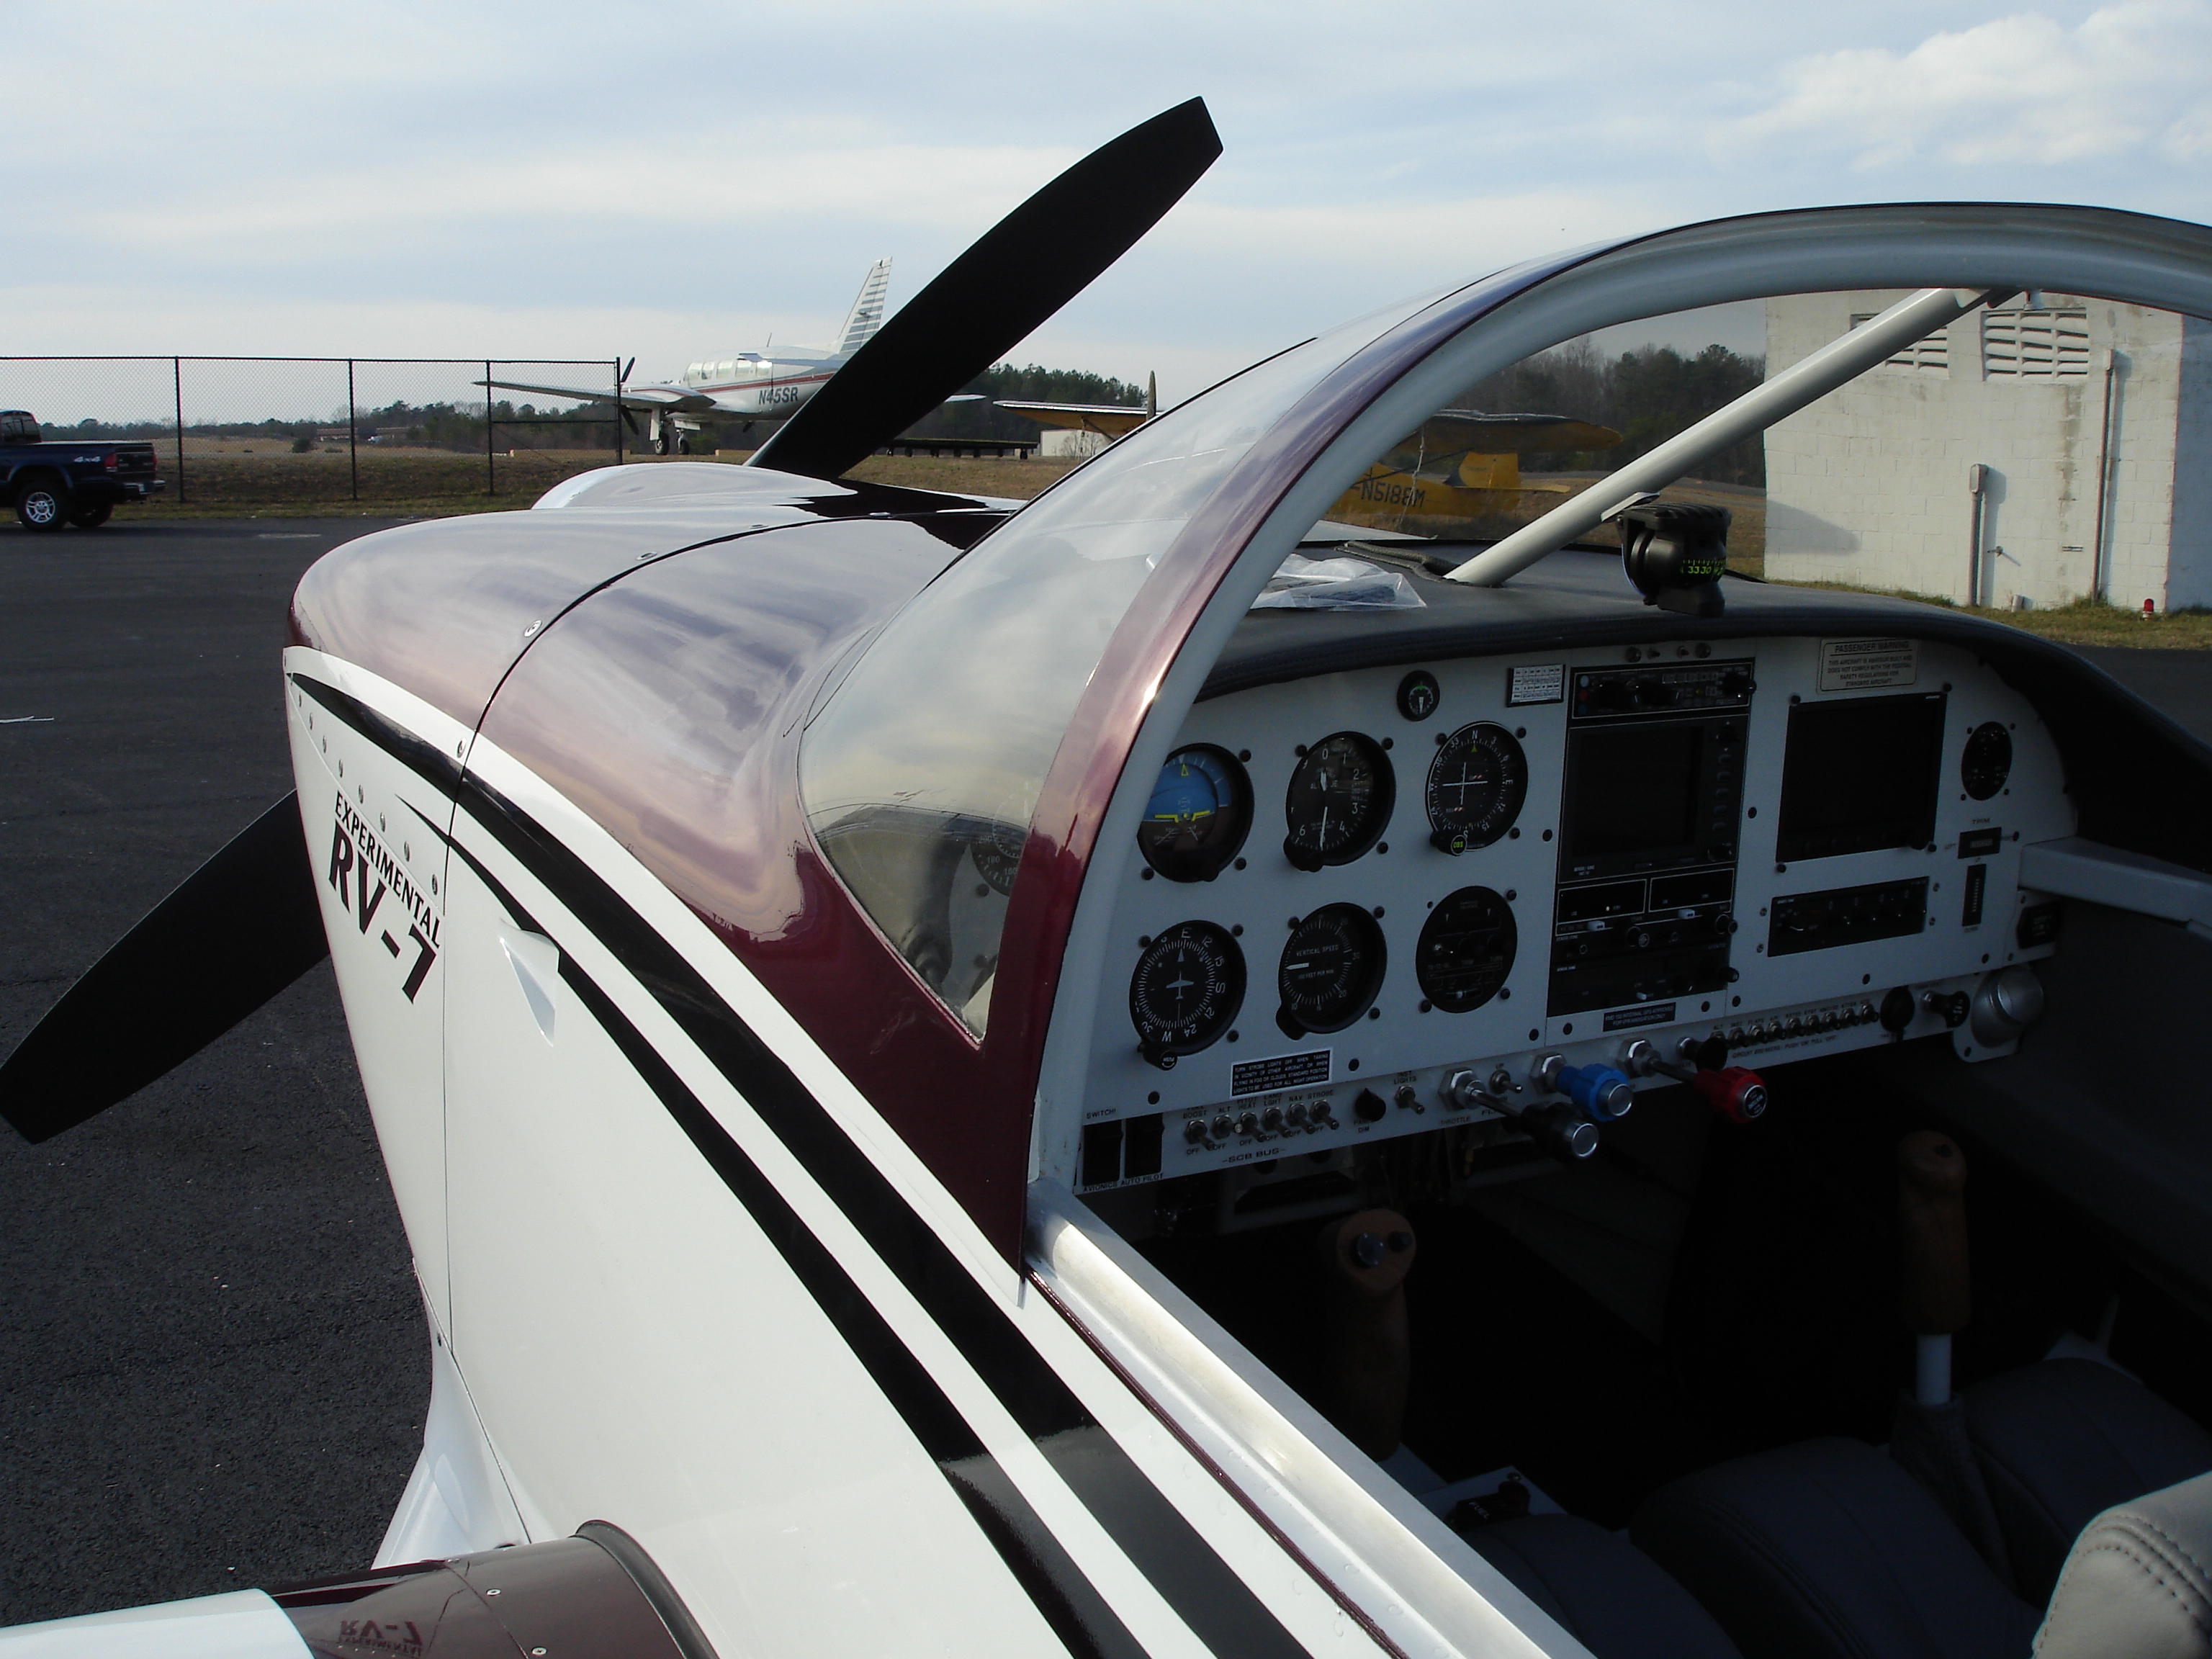
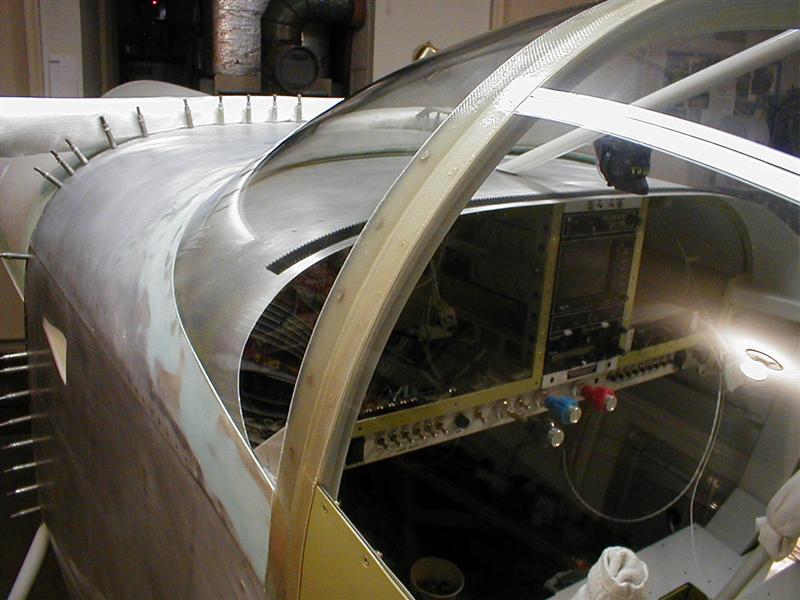
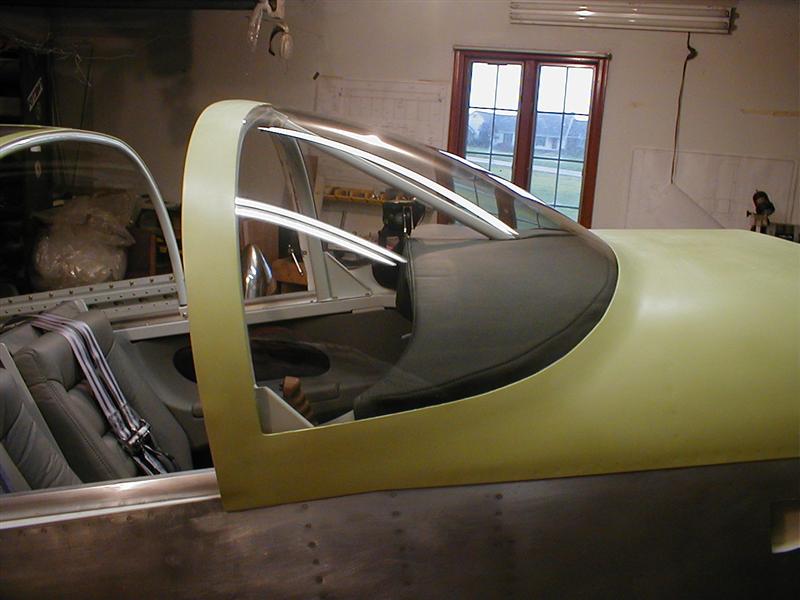
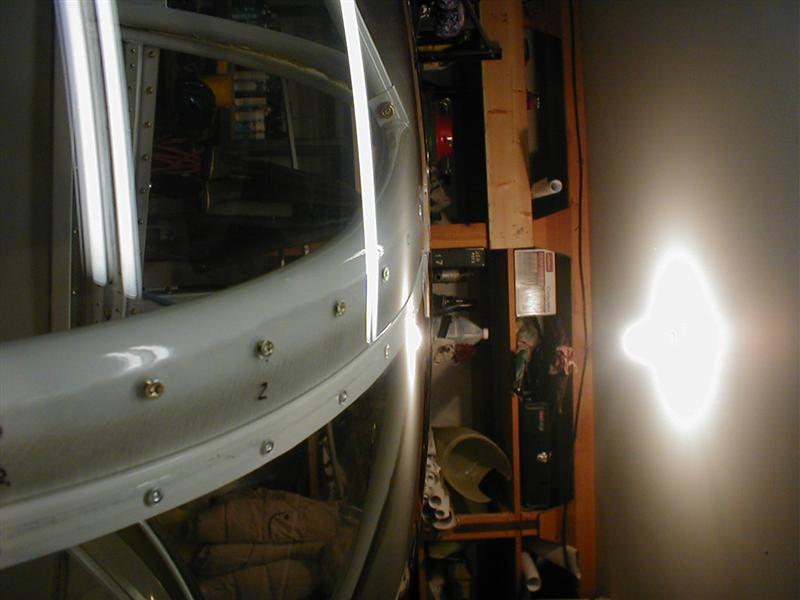
The front windscreen roll bar is basically centered on the upper longerons. Be particularly careful about locating it as described in the blue prints. If you miss drill the holes one of two things happen..Either you will run into the radius of the longeron or, you'll get to close to the edge. Use a gauge of some type to stick up underneath and get a measurement to put you centered in the longeron. The forward hole is one of the reasons you haven't riveted that side cap on. You haven't...have you? You need it off to get in there to put that nut on. There's really no major issues with this piece. If you want to bend it so that your gap on the outer sides is adequate for maintaining the outer contour of the fuselage and glass, then here's a way.
As crazy as this sounds, it works at home. You need to weigh about 180 lb to do this. Get yourself a step high enough to sit on one end if it's sitting vertical. Yes, you will definitely need a cushion. Do this on a carpeted surface so the thing doesn't slip out from under you. You should feel just like a kid in a schoolyard. Being close to a wall might help in case you need to hold yourself up. Now, if you bounce down the thing will bend slightly. If you weigh 300, you might do it with your weight alone. Anyway, It'll get wierd if I have to say more. Just try it if you need to before going all out with some sort of mechanical contraptiion. If you do it too much, set it down and sit on the middle. It'll come back out. I had it done in 5 minutes. I bent it just enough to get the overall spread within the limitations set by the fuselage sides and where I wanted the glass to be. And yes, I did it in both directions.

Cover your stuff
Suddenly, it was done. The slider already? No, I missed a million shots but there's some info on it below.
A very time consuming but necessary step in a properly done canopy is getting both pieces at the same height along the bow. This is what determines the ease of the glass work later down the road. Take a hard look at the rivets holding that glass on the slider. Can you see that the white looks squared off instead of round. Here's why..
RIVETS and PLEXIGLASS - CANOPY MOUNTING
Rivets stress plastic tremendously. As a matter of fact, your close to the limits of cracking at about the time the stem of the rivet snaps. The problem is that the rivets pull harder than the Clecos you used during the drilling process. Consequently, the plastic really isn't totally cinched down against the frame until you rivet it. Because of this, the natural tendency of the plastic is to expand a little more. This causes bulges between the rivets after the rivets are squeezed. This isn't always the case on flat surfaces, however, here's a method that may save your canopy for the 'long haul'
After you drill the canopy, remove it. Deburr the holes meticulously. Sand or polish the edges. Use a round rotary file or a cotton Dremel polishing arbor shaped like a football on one end. Dip it in the polishing compound and hit the top and bottom of every hole.
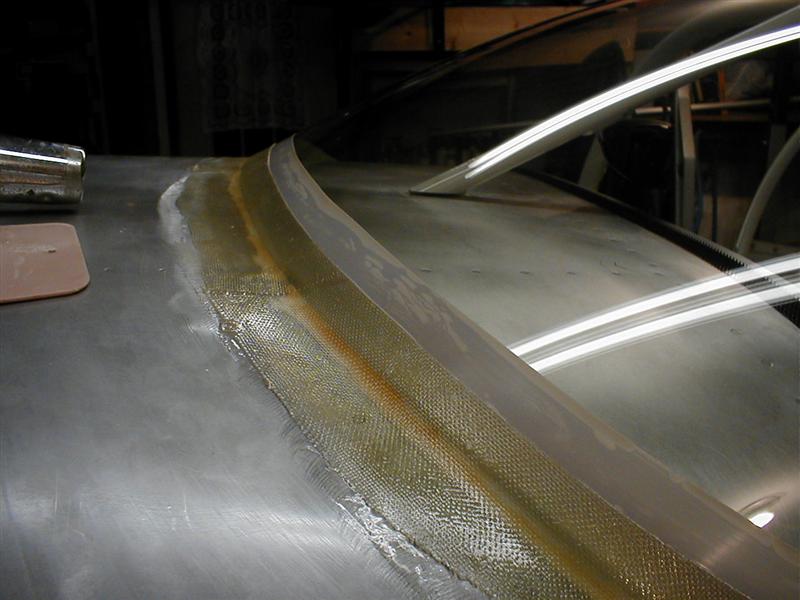
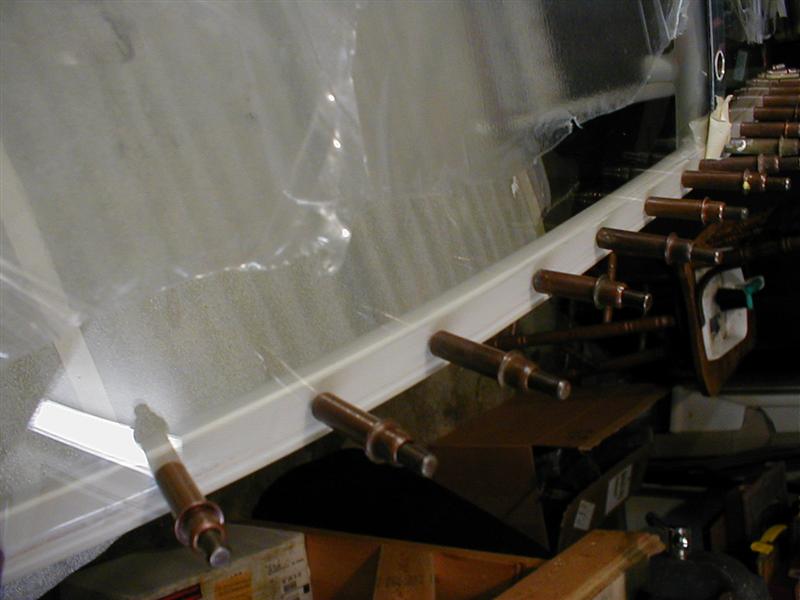
The process below explains how a perfect mold can be made as a bed for your canopy to sit on in it's most natural place after drilling. No stress is inherent afterwards. The bed is allowed to cure. The canopy is set in place and clecoed. When the adhesive dries, you simply pull the rivets. Not before.
Clean the canopy frame and then hit the mating surface where the canopy sits on the fore, center and aft bow with 220 sand paper. Mask off about 1/2" (1/4 to each side of the holes on the forward and aft bow). Lay down a bead of one of the the following adhesives along the areas you masked off.
A4 metal Set
Marine Tex - White (Like I did)
JB Weld
Hysol EA 934
These can all be considered something like a structural adhesives and are very much the same. I was surprised at the fact that Marine Tex is nearly identical to Hysol 934 in smell, consistency, mix ratio and bonding power. 934 is a structural adhesive often used in Honeycomb bonding and as liquid shim between structural parts that don't quite conform to radiuses etc. We used it extensively in F-15's, C-141's and AH-64's on the Mod teams with Lockheed, Agusta and Raytheon.
Mask off the same areas on the canopy that you masked off on the frame. Use a little more to protect it. As a matter of fact, protect the entire thing except for the areas being bonded. Hit the same 1/2" exposed plastic with 220 along the fore, center and aft mating surface ..where it sits on the frame along the rivet lines.
Now, mix up a batch of whatever you chose from the above list and apply it to frame bows using an improvised calking gun. You can also just apply it with whatever you have. Try to do it uniformly so that the squeeze out is about the same all the way around after you set the canopy down on it.. It looks nicer that way. The masking tape is there so don't worry to much.
Now, carefully set the canopy down without sliding it too much. If you get adhesive on it, use Naptha or another plastic friendly solvent to clean it off after the clecos are in. Keep the movements to a minimum. Bring the canopy straight down onto the adhesive.
Now...this is important..
Preferably, you used "draw Clecos" or the "wingnut" style to secure your canopy while drilling. Whatever you used, you'll need to install now. Use vaseline on the clecos before inserting them. Jam each cleco prong into the vaseline as you go. This will keep the adhesive from sticking. The wing nut clecos can be adjusted a little at a time. What you are trying to do is get the canopy resting in its drilled position without stresses imposed on it. If you used wingnut clecos, adjust them so that the canopy is held down but not so much that you see a dip at the hold down point. Stop with that cleco. Now move on to the rest, crossing over and side to side like a 'torque sequence. Do this over the entire canopy. Working between too tight..and not tight enough is up to you. You may find that a dip is unavoidable in getting the canpy down where it has to be for everything else. If this is the case, do what you have to but be cautious.
Now that the canopy is down and adjusted, and sitting on wet adhesive, get inside the aircraft with a roll of paper towels and some Naptha. You really shouldn't need the Naptha if you thought ahead a little. Just so you don't have to make a second hop, take some into the airplane. Take your index finger and smooth out the squeezed out adhesive. Fingers work best. They're like an adjustable curved spatula. If you see that the excess adhesive starts getting close to the other side of the tape, stop and use a pop sickle stick or something to get it out. Then smooth it out with your finger. This just keeps it from getting on the canopy. Go over the entire canopy, Doctor it up until you have a nice uniform bead of adhesive everywhere. Be especially critical of the forward edge of the front bow. This is where everyone will be looking when you open it later. You want a nice radius of adhesive coming up from the bar and blending in up under the edge of the glass. The better you do, the less you'll have to sand when it's dry. Now, the last thing is a cool trick for all adhesives. Get yourself a small cup of soapy water. Dip your finger in it and run your finger along the partially cured adhesive. You can smooth it out almost perfectly....almost like glass. (This works on Pro seal as well) Once youu're done, remove the masking tape. Pull it quickly and perpendicular to the surface. In other words...straight up. Sometimes this doesn't always work but when it does, it shears the adhesive, leaving a nice edge. This works especially well with Pro Seal because Pro Seal has a way of leaving gooey trails along the tape line. It happens more because the stuff is too thick at the tape edge. Get it thin at the tape edge to help with the tape removal.
Now, check everything. Make sure its all held down. Also, make sure you don't have adhesive sticking to something it shouldn't be on.
Let it cure.
Remove the clecos
The glass should stay down but it really doesn't matter if it does or not. YOU DO NOT NEED TO REMOVE THE CANOPY DURING THIS STEP. IT SHOULD REMAIN IN PLACE - EVEN IF AN AREA PARTIALLY SEPARATES. You're not gluing it down. You just created a bed that your canopy will sit on perfectly. At this point I'd say shoot the rivets in it but before you do, doublecheck that adhesive hasn't squeezed up the cleco prongs into the countersunk area. If it has, clean it out. Carefully use a countersink if necessary. Once everything is cleaned, go ahead and shoot the rivets.

Now that there's a hard bed under the glass, the rivets will not deform the plastic at all. It's more like shooting a rivet into your garage floor. The glass doesn't flex and there's no unsightly dips along your canopy rivet lines. For an added finish, sand and fill in the rivet heads using the same adhesive or 2 part body filler. When finished, the entire thing looks like it came out of a mold.
Wow...that was a mouth full. On to the rest..
The Side Skirts
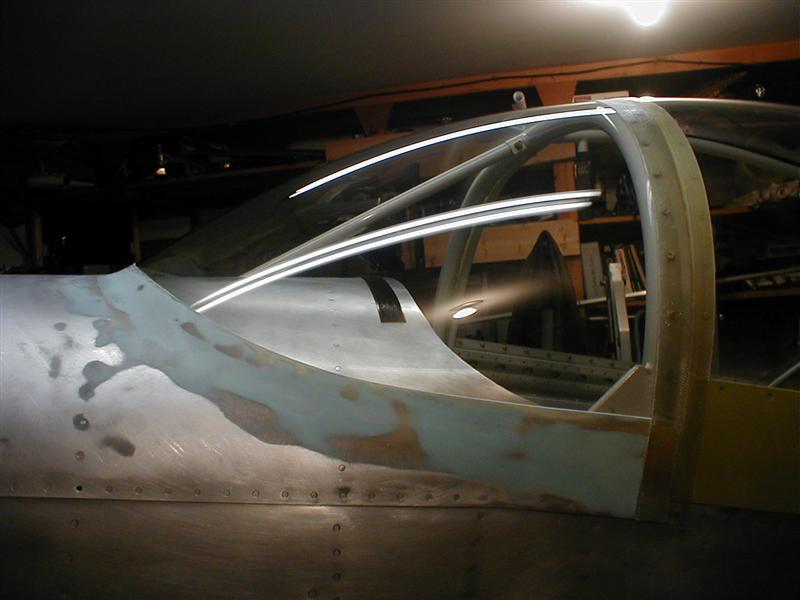
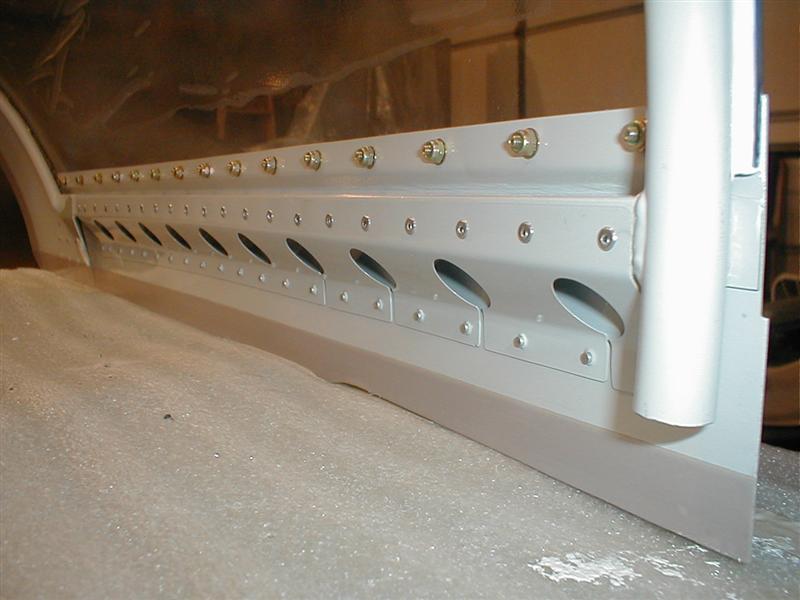
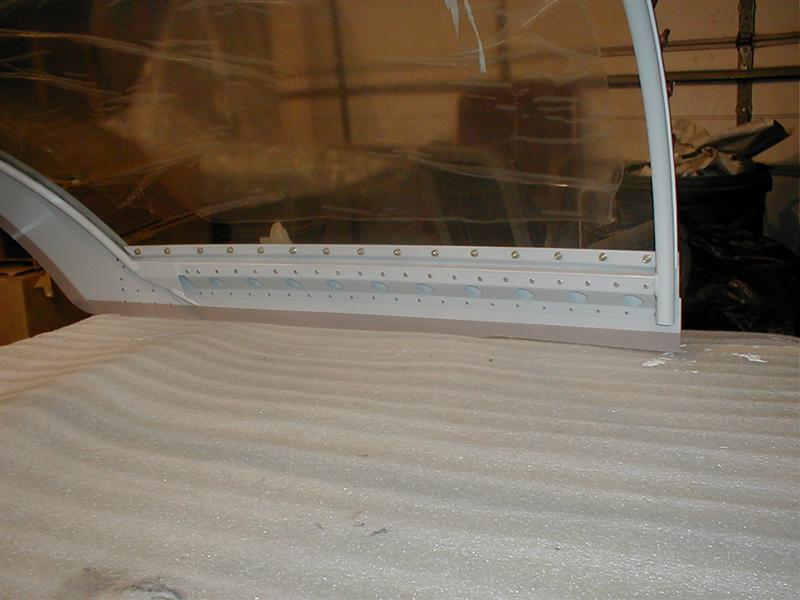
Now I'm starting to remember why I took these pictures. The side skirts are one of those simple quick looking things but you really need to watch out. Van's doesn't tell you how much things move as you try to attach them during this step. You know those pieces with all the lightening holes. They're there for flexibility because the piece is in a backwards bow after installation. The little cutouts between the holes are for expansion at the bottom. Furthermore, your rivet line can really get out of whack at the top as a result. Before you drill anything, push the piece against the side skin of the skirt. Watch how the upper section running along the rectangular frame piece changes. I believe I trimmed mine with a very slight curve from front to back before it sat flush with the upper surface of the rectangular section. Remember that little instruction about pushing the skirt out to conform to the fuselage side before drilling. Make sure you read it and understand what they are saying. If you go through these steps, your rivet line should appear straight all the way back....In reality, if you straightened this piece out on a table, it would look like the rivet line was a curve. Really take your time here!
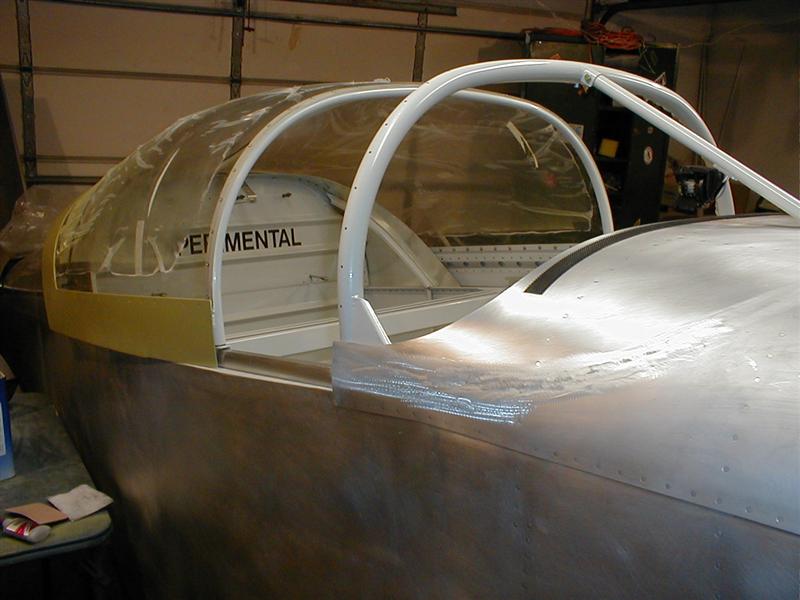
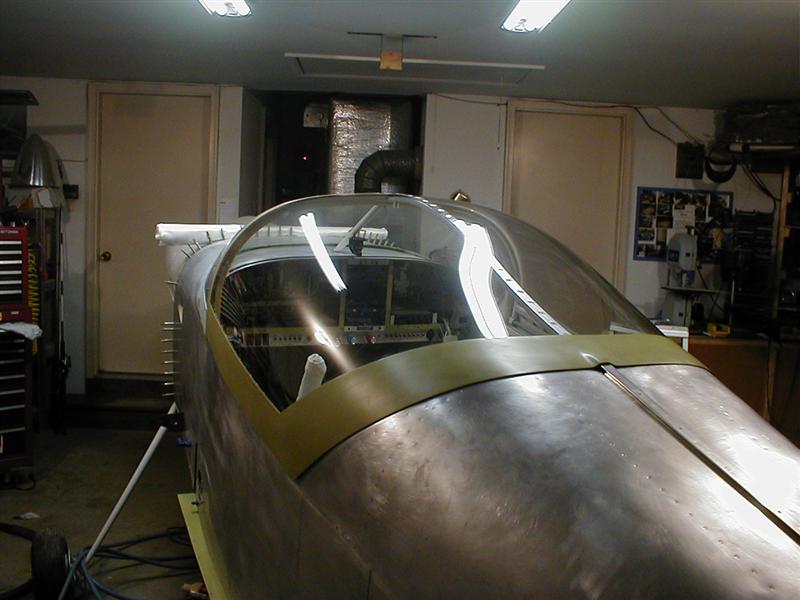
Metal Fairings vs Fiberglass
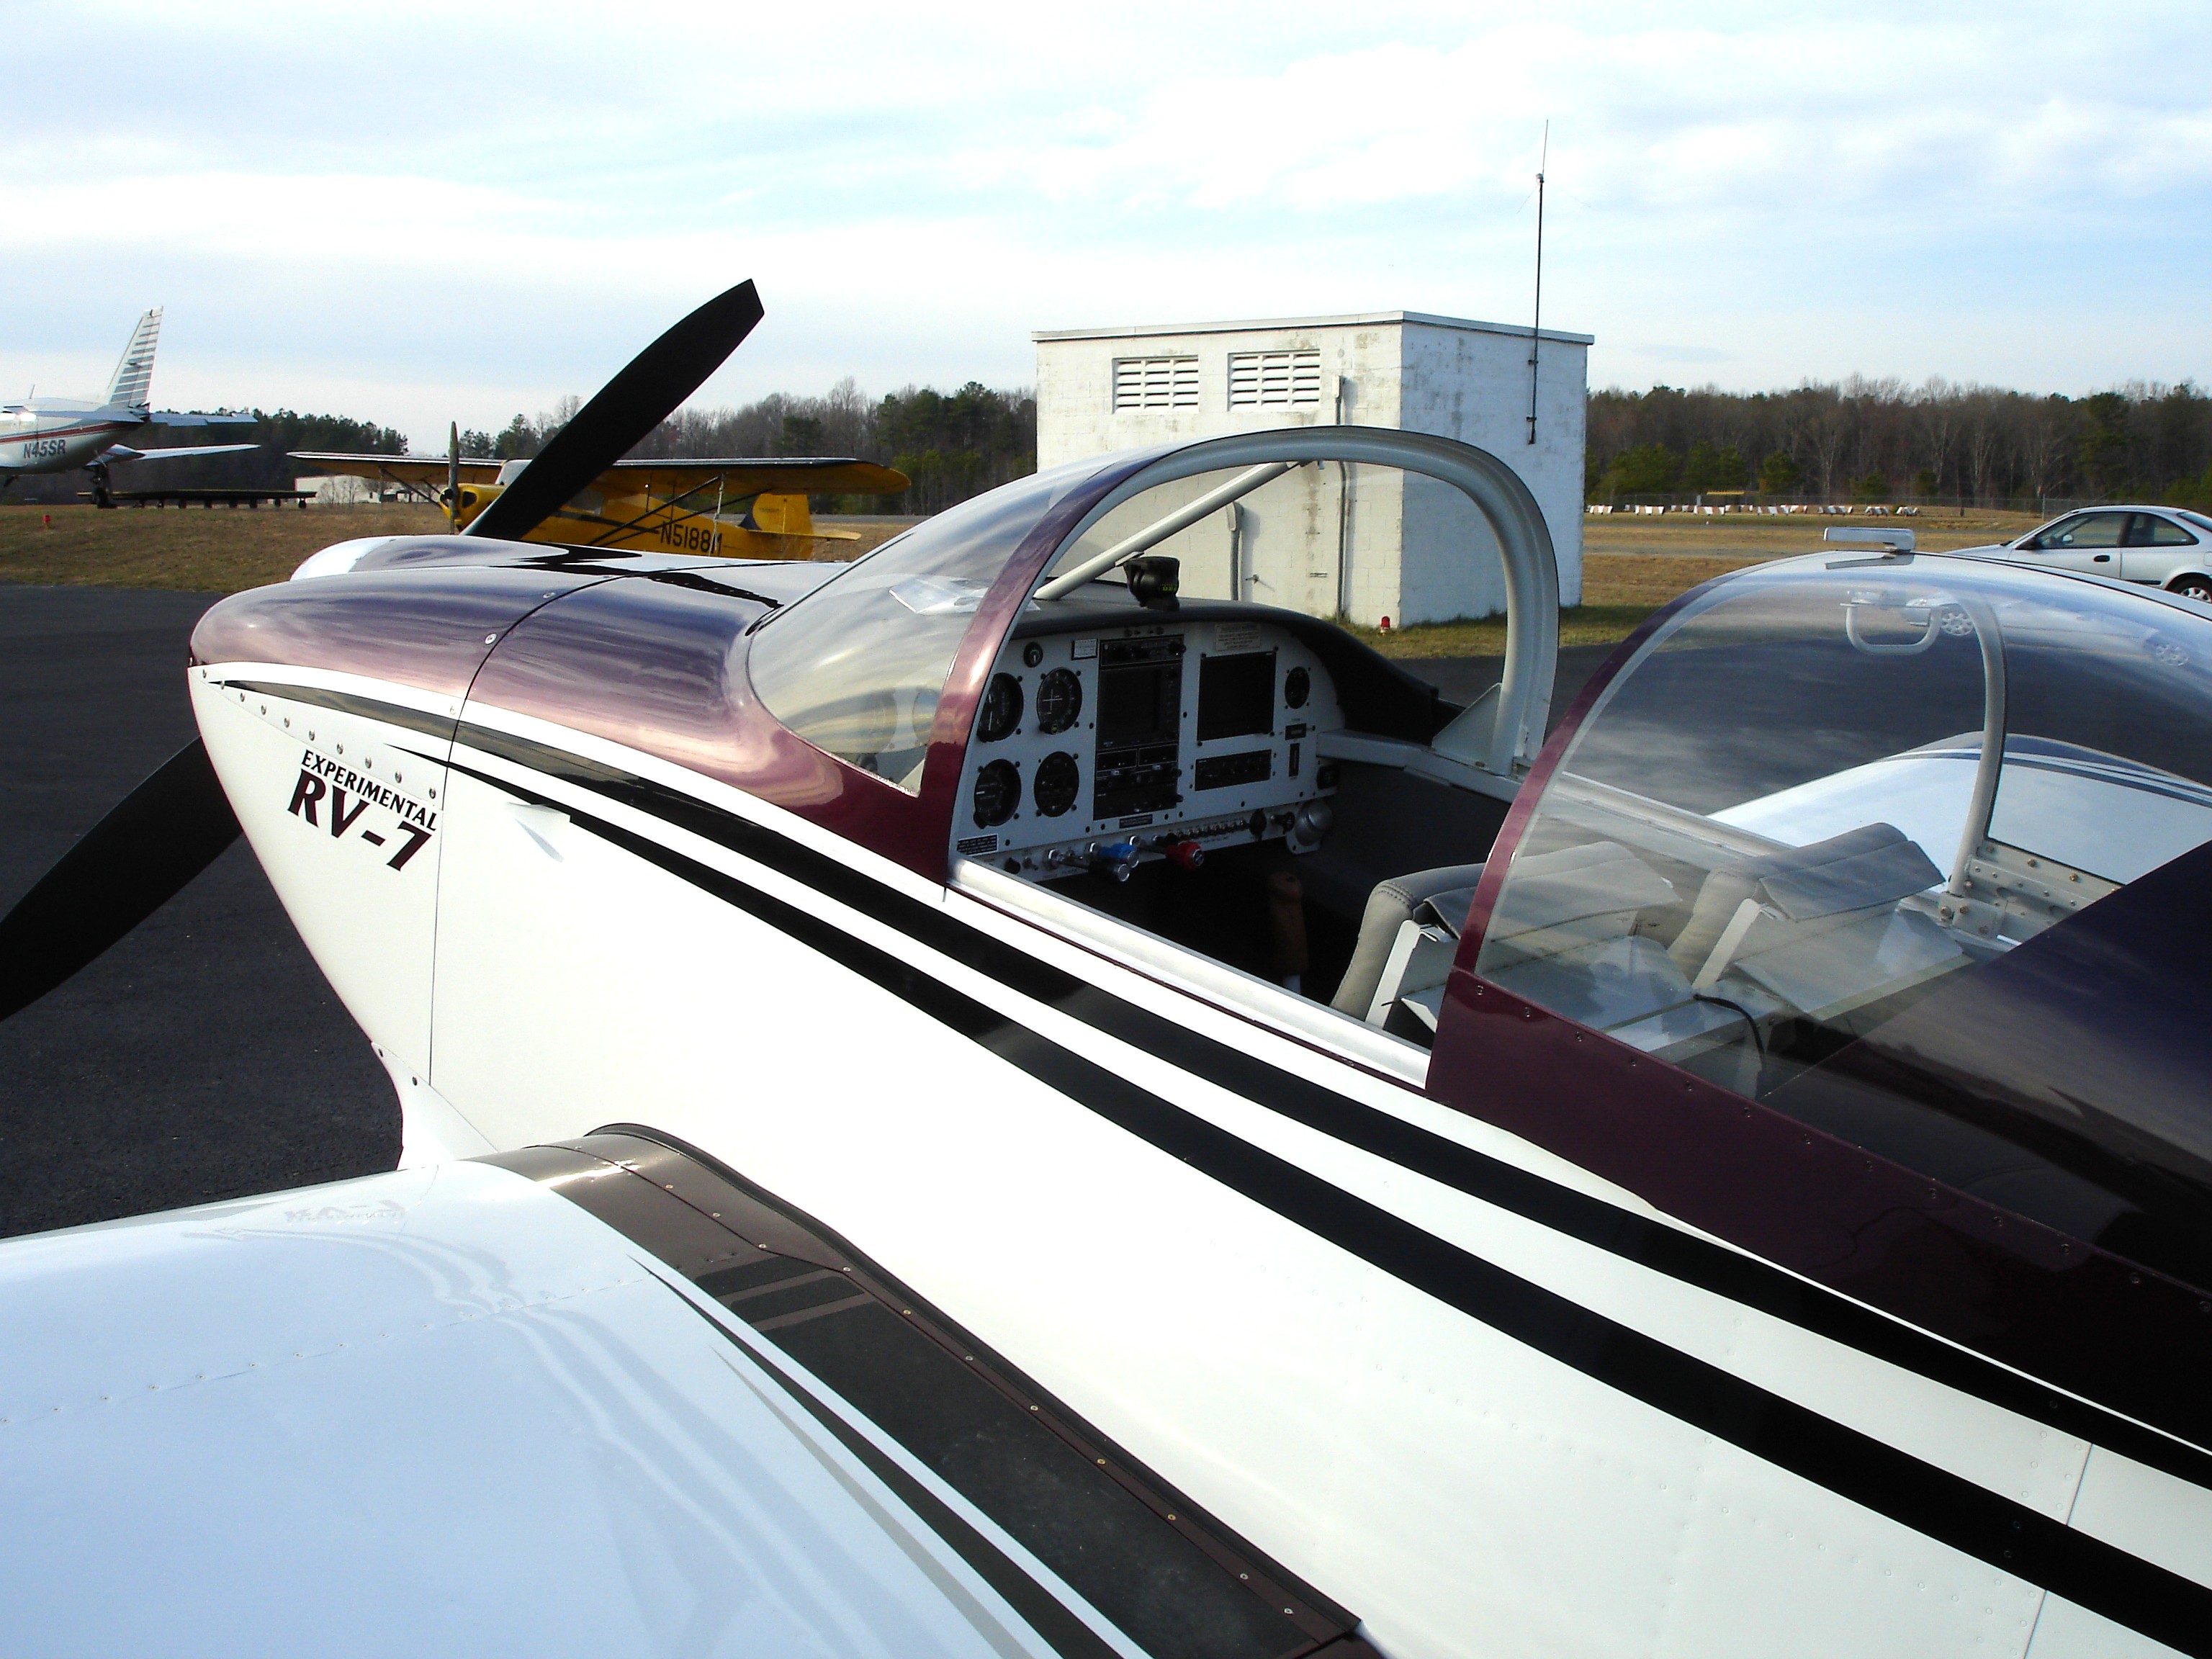
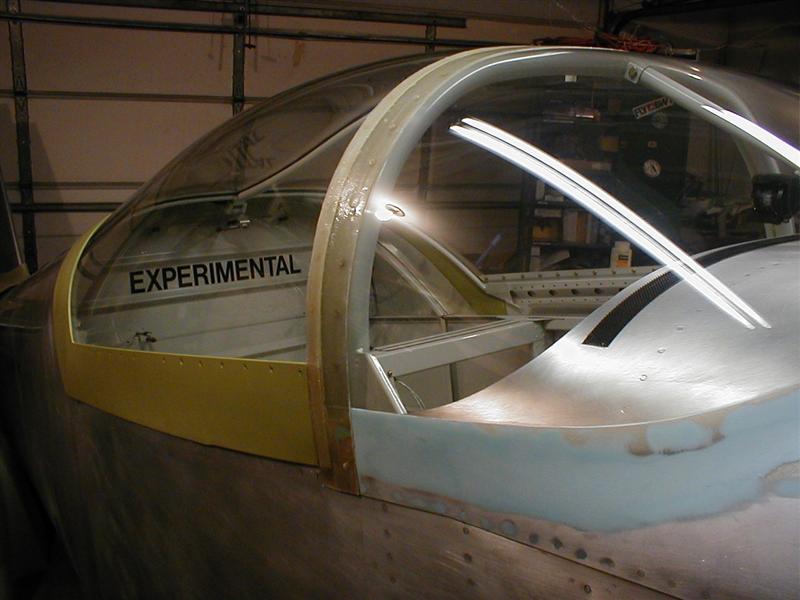
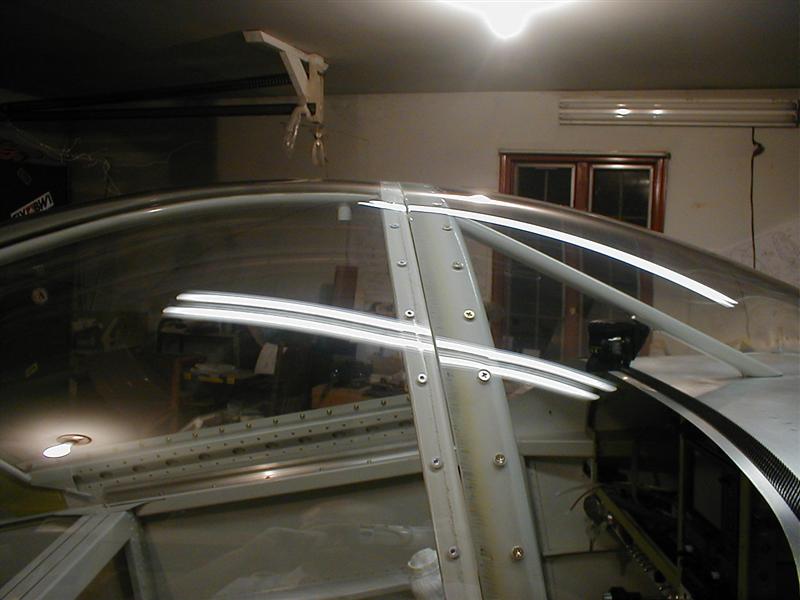
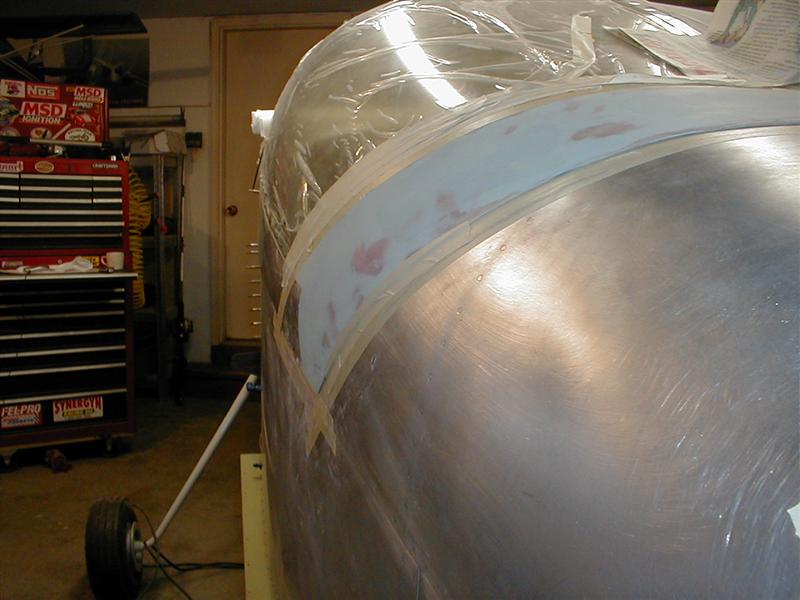
As you can see in the picture, I got pretty far with the metal fairings. I even had the chafe tape on. The problem, that I knew I had when I took this picture, was that when I shot the rivets, the back end lifted a little. The bigger problem was that the sides didn't conform nicely to the compound curve and the back end of the rectangular portion of the canopy frame. The frame itself took some adjusting but you cant do anything about that screwed up transition from the round bar to the square bar at the rear end. It's a jump that caused a hump on the exterior. Whatever the case...and I'm sure someone has figured out a way to make the metal work, fiberglass makes more sense. As long as you do it right, the fiberglass fairing is easily made. It's a larger version of what you do for the transition of the windscreen to the canopy forward edge. I ended up drilling off the metal and hand making the fiberglass.
And it looked so nice
I didn't waist a lot of film here on the layup. Basically, I shut the canopy and cut pieces of Manila folders to bridge the gap. As with metal, manila doesn't conform to the curve. Cut sections and overlap them for a perfect transition. Lay up 6-8 layers of glass directly on top of the Manila. Let it cure. Break it loose and take it over to your work bench. If you want, before you do the lay-up, you can spray some Spam or release agent onto the Manila paper. Be careful not to wet it so that it doesn't warp. I didn't use anything. I let the resin stick to the paper and sanded it out later. You may have a few warps when your done. It all depends on your craftsmanship and the time you invest. If it didn't turn out that great, work the top by applying extra glass or a small amount of filler until it's smooth when you run your hand across it. Leave the bottom alone. Only fill the air bubble holes or crevices on the bottom surface. This will assure that you maintain the 'match fit' on the fuselage upper aft skin.
This is a little deceiving because the glass looks a little thicker than it is. If you end up with a thick rear end, chamfer it with a sanding block so that it runs smoothly down and into the fuselage skin.
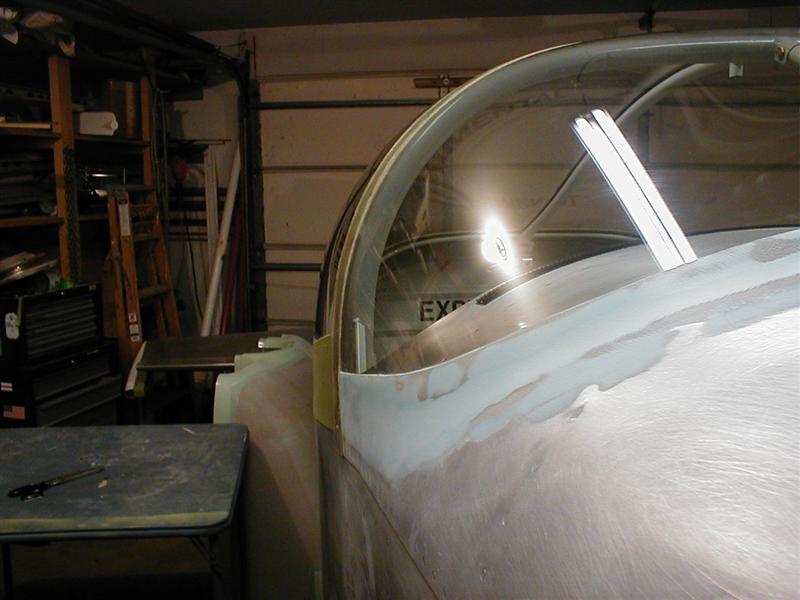
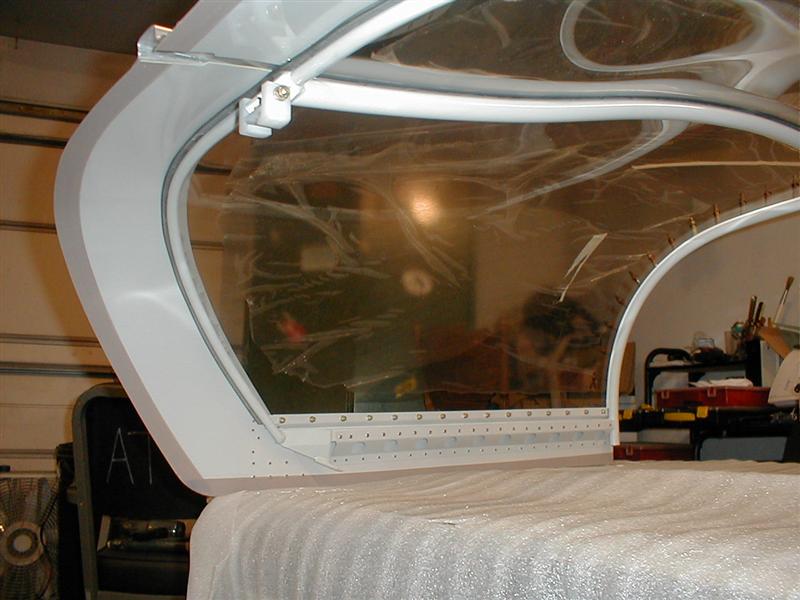
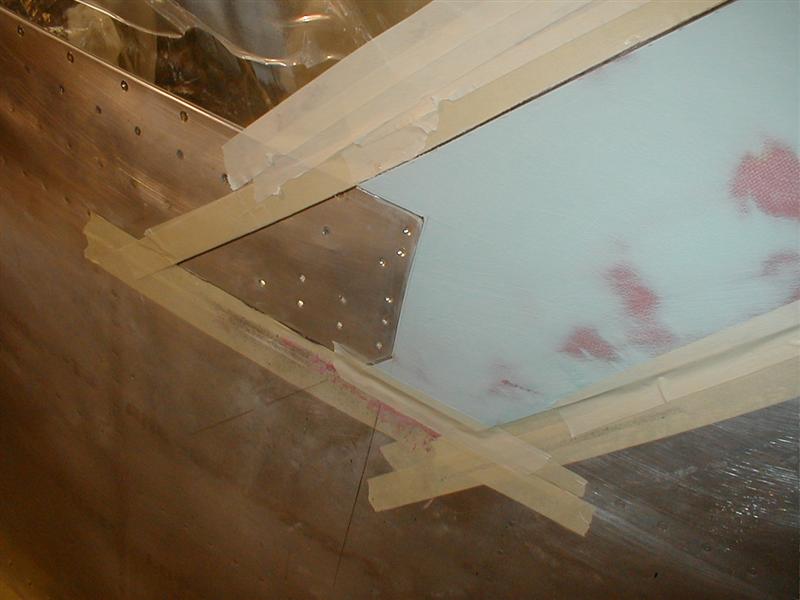
A few pictures here show how I made a keyway cutout to maintain a flush outer surface. I used the same holes that tied the metal skin in for a metal doubler on the inside. The doubler is riveted and bonded with structural adhesive. (A4 Metal Set). It is made up .032 2024 T3. The rivets are "double flush" - or slightly countersunk to keep from rubbing as the canopy slides aft. There's just enough room. Once completed, the transition was filled with A4 and then sanded smooth. Because of the "riveted/bonded" procedure, the pieces will not move in relation to each other causing a noticeable line at the transition.
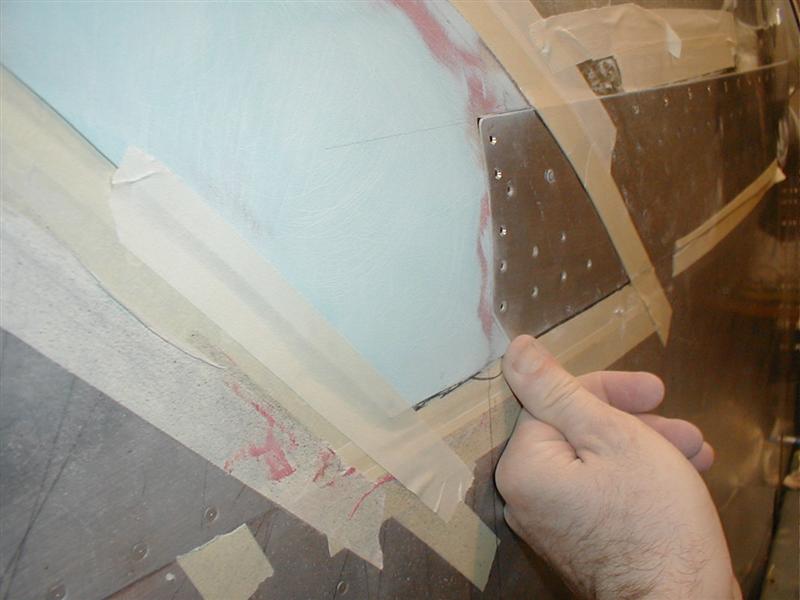
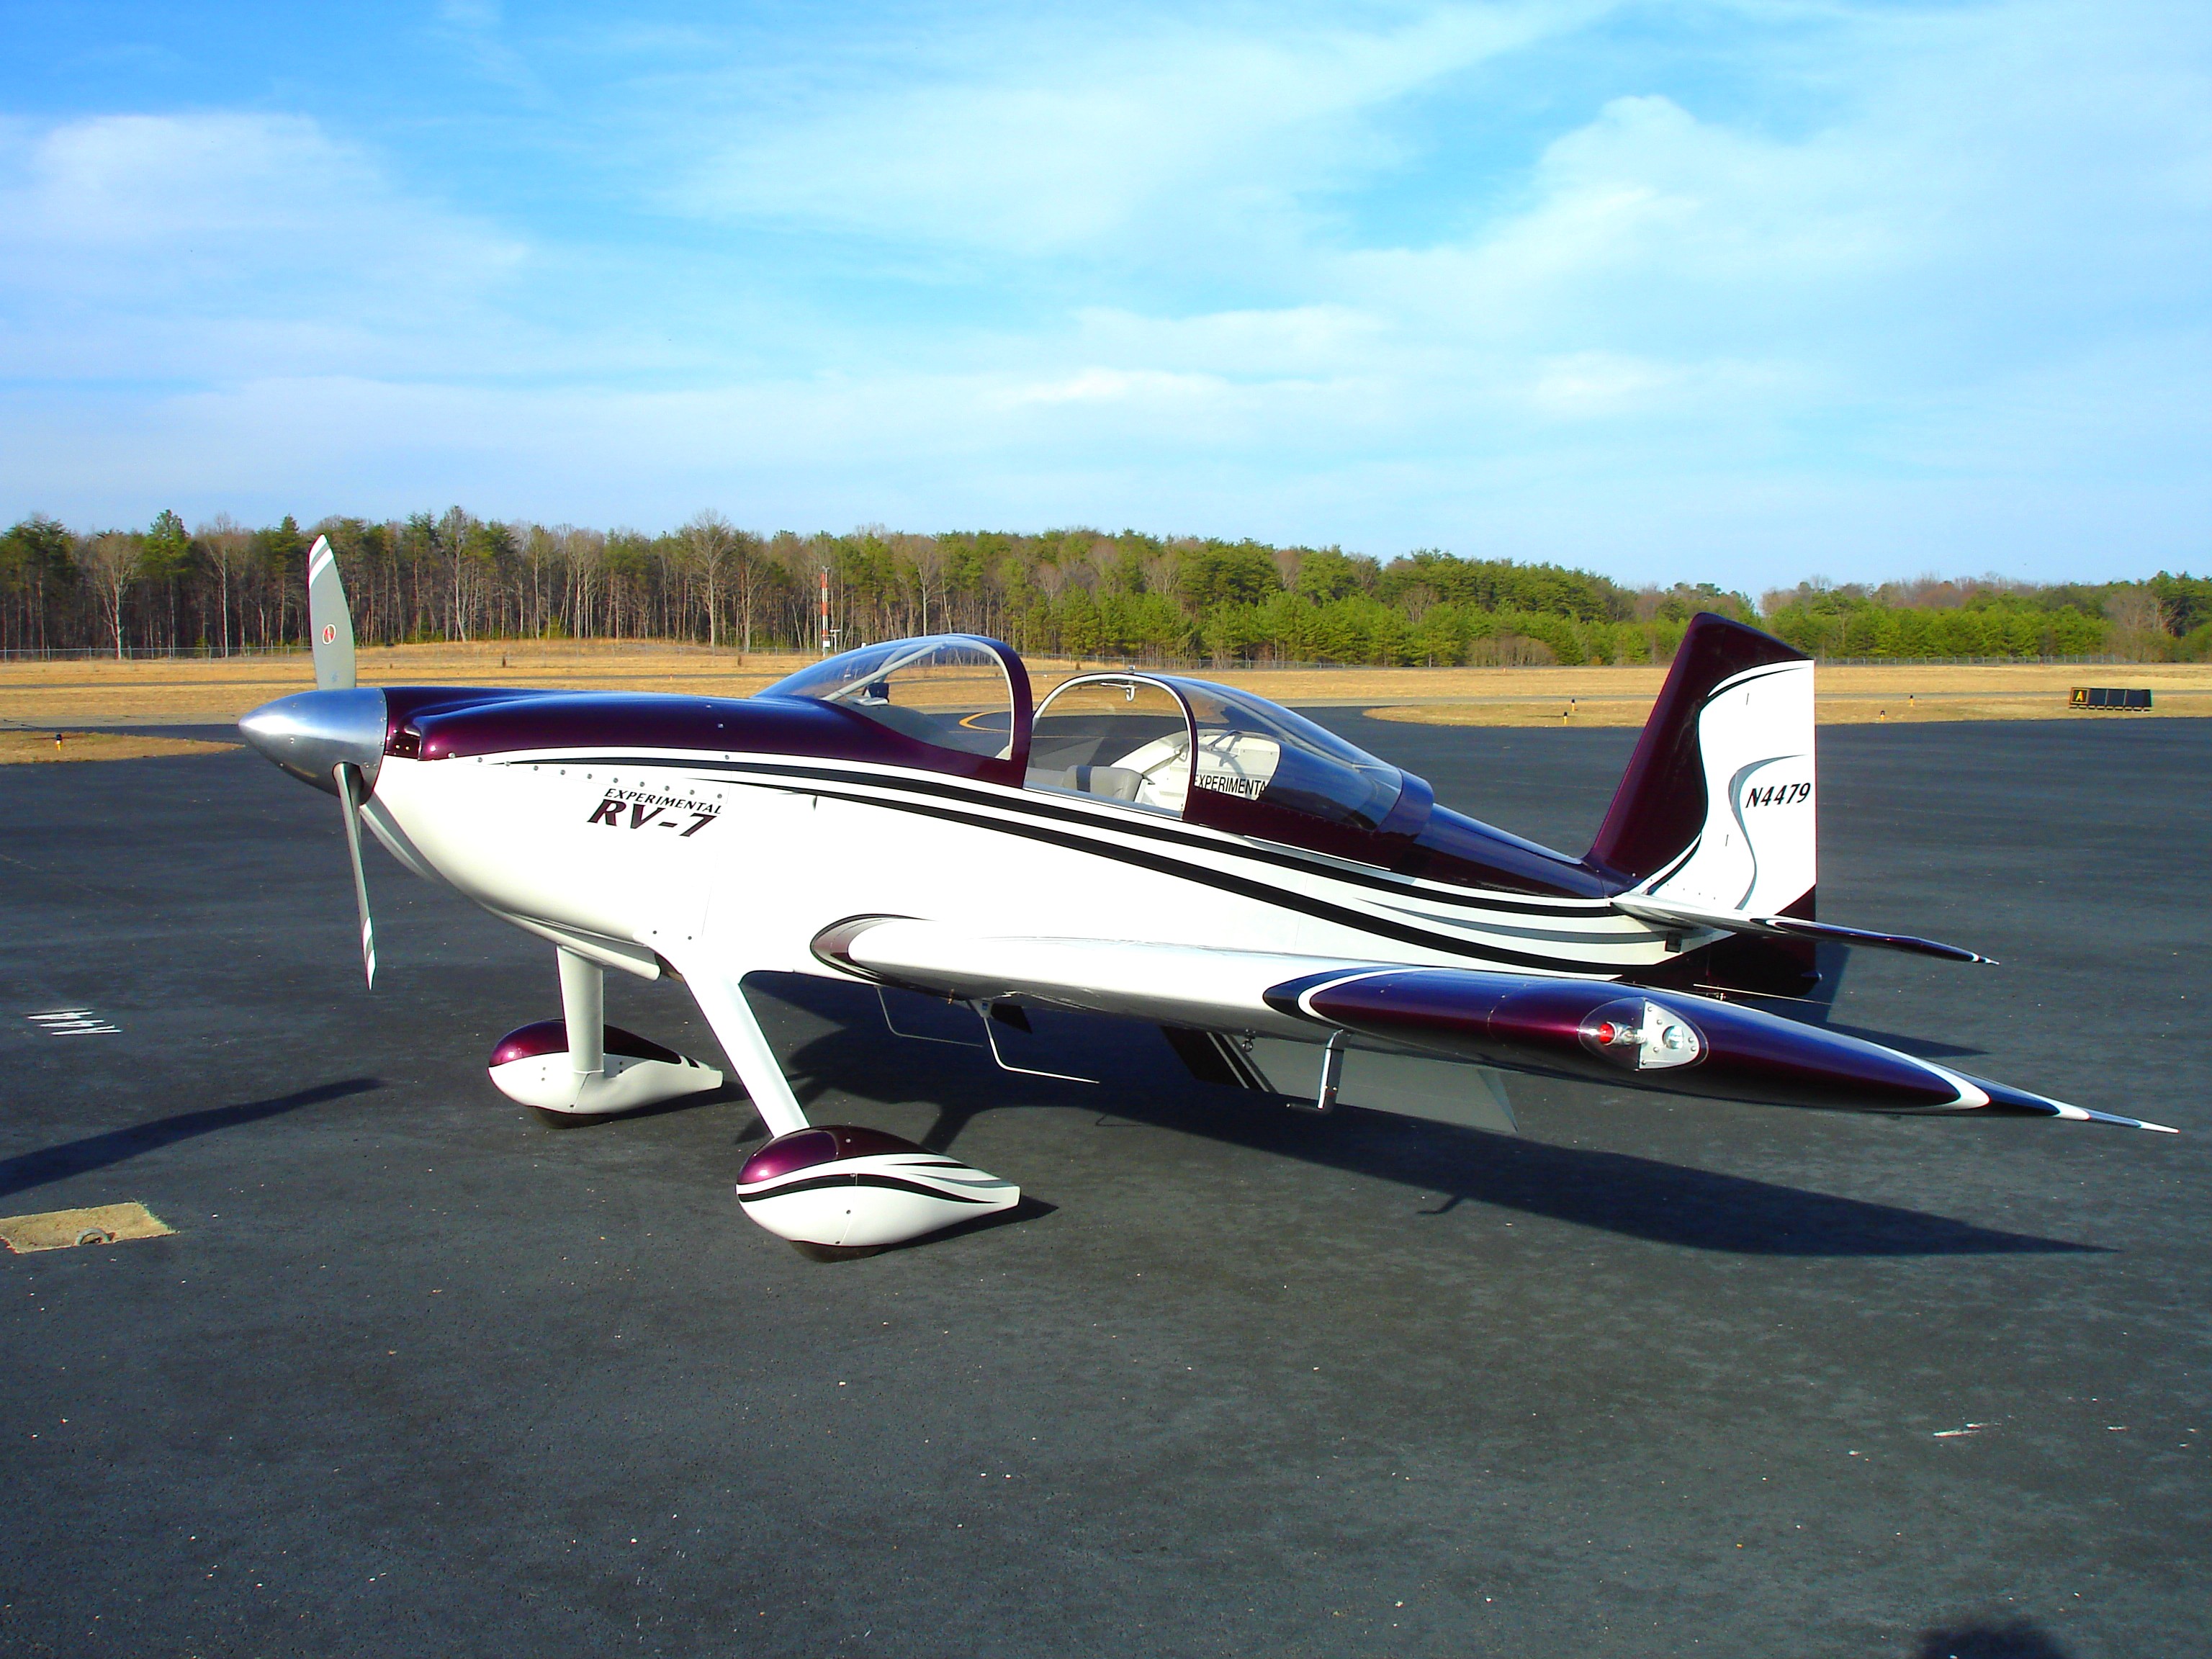
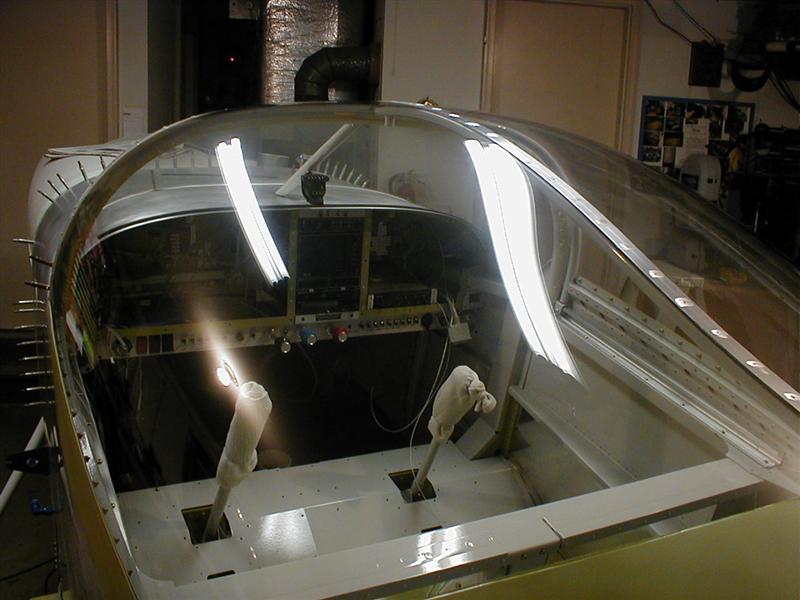
I've got the canopy about 1/8th open in this shot. When completely shut there's barely enough room for paint...and chafe tape.
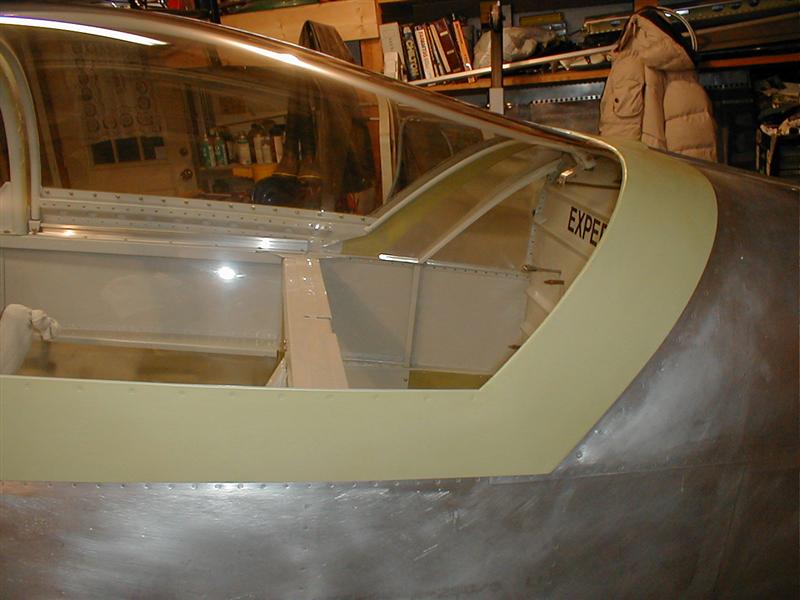
You might see the results a little better in one of these. They're linked to 2 MB shots that you can zoom in on..The one on the top right is a good shot of the canopy from the rear. The rest are equally good for a look at the windscreen finish and body work. Your browser may fit them to the screen. Run your mouse pointer over it until you see the little icon in the lower right...and upper left. You can print or enlarge to full size. When they are enlarged, you should have to scroll across them to see the whole thing.